
On this page, you will find the following instructions:
- how to build a German semaphore distant signal with LEGO bricks,
- how to equip it with lights,
- how to make the disk, the blade and the spectacles move, and
- how to automate of all that it with a MattzoLayoutController.
Media
I have created a video about the signal. In the end are some nice LEGO train operation scenes featuring the signal, so make sure to watch it until the end. 🙂
English version
German Version / Deutsche Version
About the signal
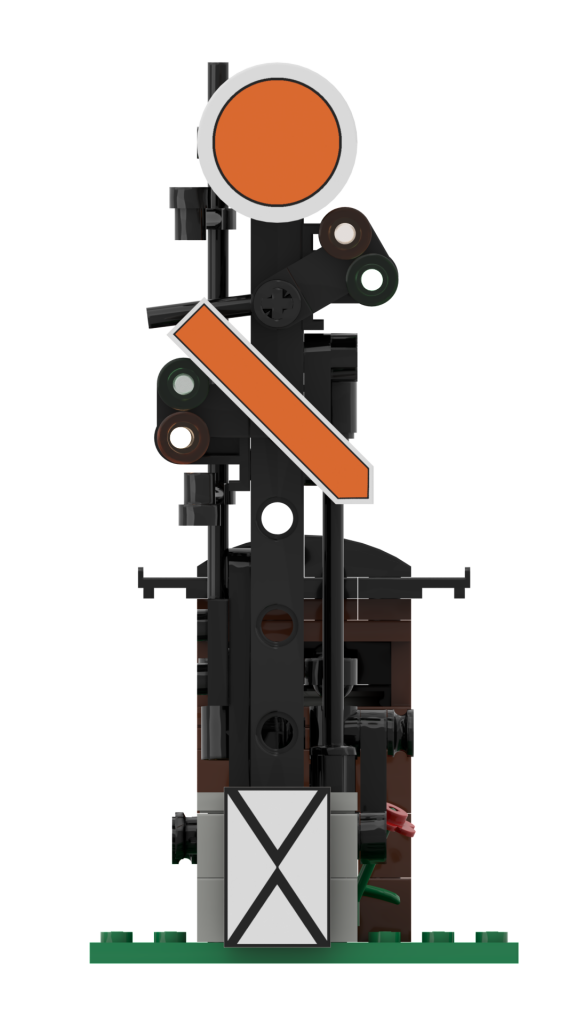
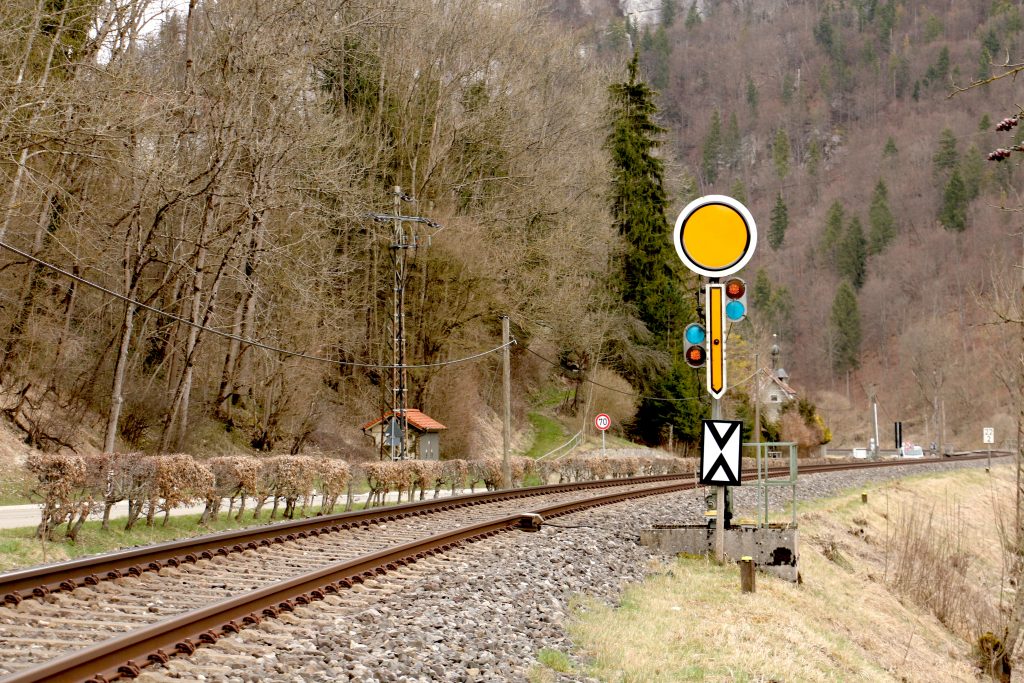
The signal was designed by Matthias Runte of MattzoBricks in 2021. Shape and functionality is based on the German semaphre main signal (Formhauptsignal) that was common on German railroads since the 19th century. Even though form signals are being replaced since the 1970s by light signals, the signal is still used in many train stations and on smaller main tracks in Germany.
The distant signal is usually placed 1000m ahead of the main signal. On a scale of 1:38, this equals about 206 standards straight tracks or roughly 3290 studs. 🙂
How to build the signal
Designing fully functional, lighted and realistic semaphore signals for the LEGO train system is a challenging task.
I have compiled some step-by-step building instructions for you and provide them for free download. There is also information about required material and special building procedures on this page.
Building Instructions

Servo House
There are two versions of the servo house. The small one contains just the servo. The instructions to build it are contained in the instructions for the distant signal.
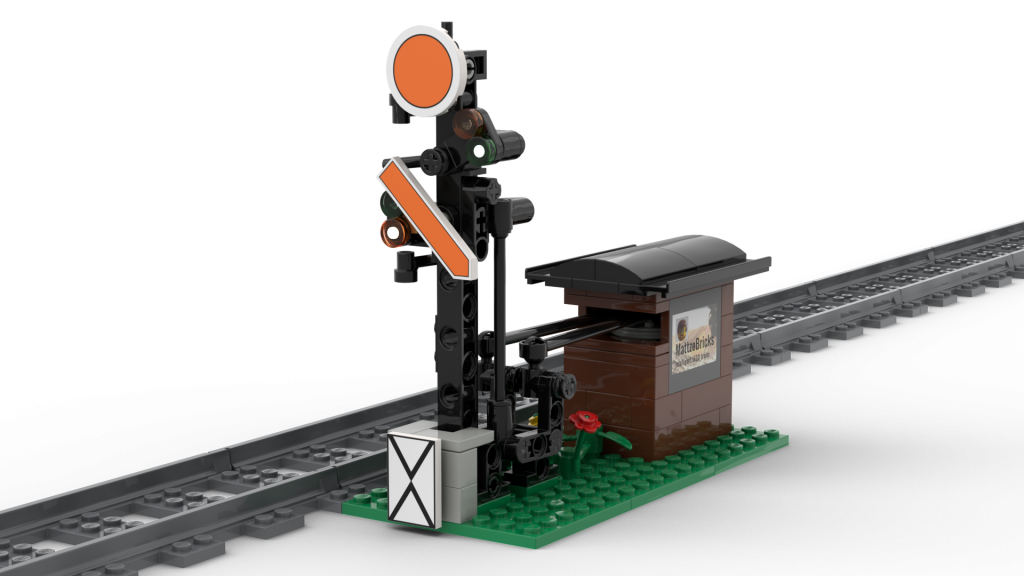
The alternative house is larger and has space for a MattzoLayoutController on a ESP-8266 development board and a rechargeable 9V battery. When using the large servo house, you can build the signal as an autonomous assembly that can be placed as a unit anywhere on the layout without the need to wire it to a power source or a MattzoLayoutController.
Required Parts
The signal requires the following parts:
- A couple of standard LEGO bricks as described in the instructions
- A few printed parts
- Decal foil and transparent acrylic spray paint
- 2 white LEDs (5mm)
- Thin copper wires with black lace to power up the LEDs
- A servo to motorize the blade
- Some inches of jeans thread or similar to connect the servo to upper spectacle lever.
More information about required materials and how to purchase it can be found here.


Brick modification
It is useful to remove one stud of both parts no. 32530 with a Dremel tool or a sharp knife (watch your fingers), because the part will then fit better to the mast (part no. 71710). For improved stability, you can fix the parts on the mast with some drops of plastic glue.
Printed parts
The distant signal could theoretically be build with standard LEGO parts completely, but it would not look as good as on the pictures. That’s why I designed a few parts to be printed with a 3D printer. These parts are the spectacle holders and the blade with the orange arrow.

The stl files are available for download. Enjoy!
Attention: you may need to scale the parts down with a factor of 0.254 before printing!
Decals
I have designed some decals for the signal.
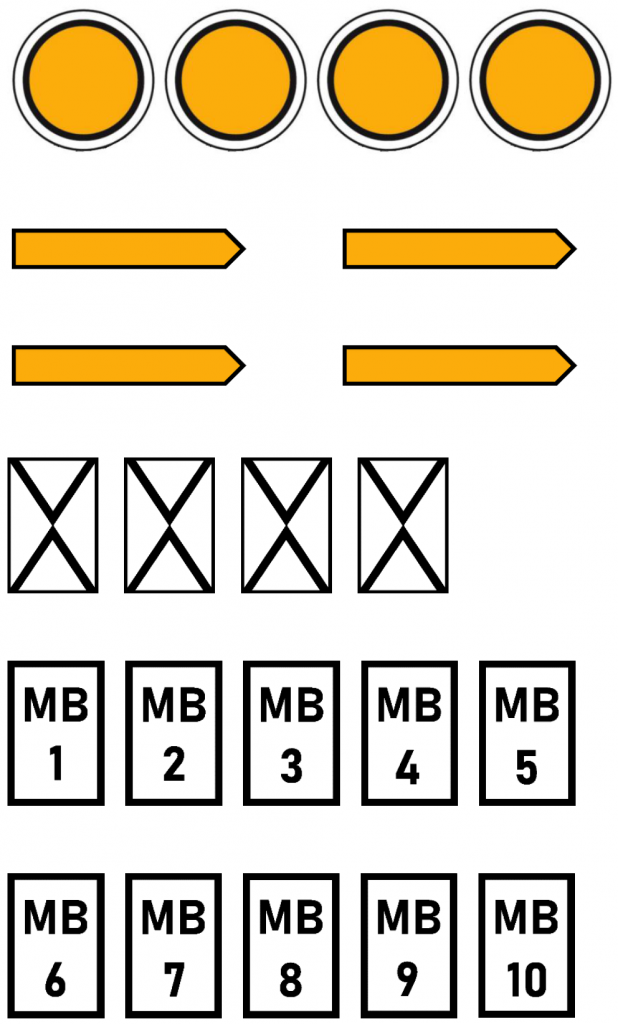
The decals can be downloaded as Microsoft Word and pdf document.
The decals can simply be printed out on paper, cut out and glued to the brick. If you would like to create professional, water-proof and long lasting decals, you should print the decals on decal foil and fix it with transparent acrylic spray paint.
Lights
To equip the signal with lights, I have used 2 white 5mm LEDs. The LEDs fit perfectly into the holes of the LEGO parts as shown on the pictures. The wires are very thin, black copper wires used for model scale train layouts. The wires can be put between the mast parts. This way they are almost completely hidden and very hard to spot at all. The lights are connected to the MattzoLayoutController on some plus (3,3V) and minus (ground) terminals.
Motorizing
I have used a “Geekservo 270° servo” to make the disk, the blade and the spectacles move. This servo is available under different brands and is available from various resources on the web for a reasonable price.
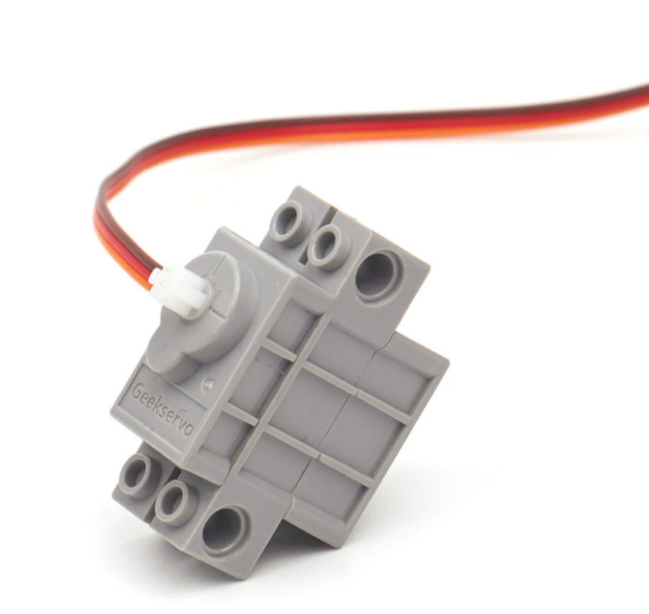
The idea is that the servo rotates to a specific angle when the MattzoLayoutController gets a signal command for the different aspects.
The servo is placed in the little brown house behind the signal.
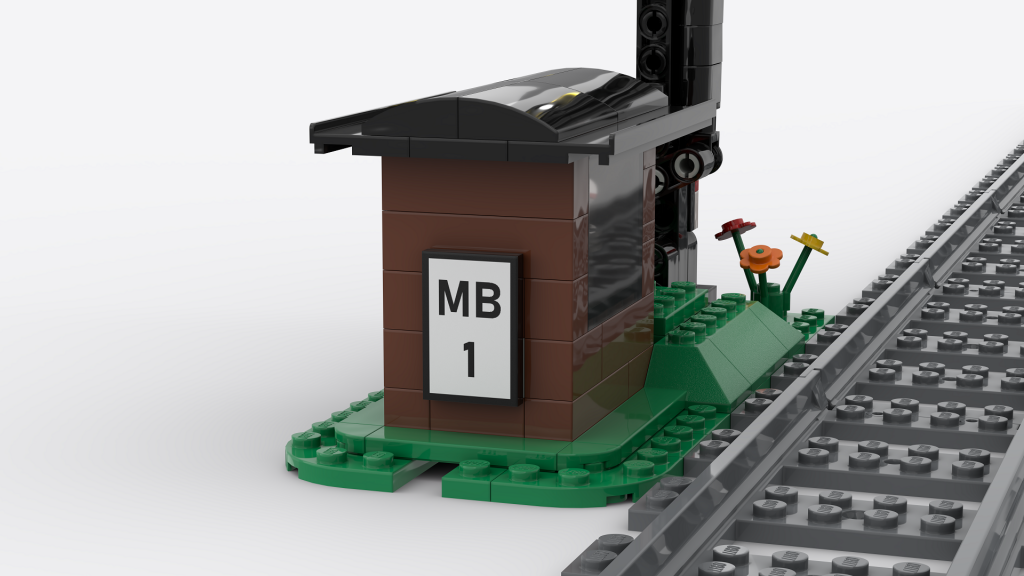
If you want the assembly to be fully autonomous, you may build a larger house that also covers the MattzoLayoutController and a rechargeable battery.
If you build your layout with MILS or similar techniques, you can place the servo under the tracks instead.
Please note that you control both blades and the spectacle holders of the signal with a single servo only.
Here is an overview about the servo angles that I have used:
| Signal type | Aspect | Directly Wired | Wired via PCA9685 |
|---|---|---|---|
| 3-aspect distant semaphore | Hp0 (expect stop) | 8° | 40° |
| 3-aspect distant semaphore | Hp1 (expect go) | 70° | 70° |
| 3-aspect distant semaphore | Hp2 (expect slow) | 115° | 95° |
The servo angles will vary depending on a couple of factors. If the servo angles don’t fit, just play around with them in the MattzoLayoutConfiguration until they fit to your needs. Adjusting the length of the wire to the arrow lever is also a factor that you can play with.
Automation
The signal is automated with a MattzoLayoutController (MLC). The MLC controls the servo for the blades, and provide current for the LEDs. For the three aspect signal, you may also use the controller to switch on the yellow light only if it is used (when showing the slow aspect).
Find more details about the MLC here.
To use the MLC with signals is described here.
In the firmware package, there is an example configuration file called “MLC_conf_FormSignals.h” that should help you to easily configure your signals.
Enjoy!
Hello, i am trying to build those fantastic Distant Signals. If I am not mistaken the building instructions are for the 2 aspect version only, though the text mentiones angeles etc. for a 3 aspect version. Are the instructions for the 3 aspect version also available?
By the way, for the stl it seems that the upper paddle is mirrored when opening.
Hi Stephan,
the building instructions are actually for the fully-fledged 3 aspect version. If you want to build the 2 aspect version, just leave the parts out that have to do with the orange arrow and the mechanics to lift the right spectacle holder when showing Vr2.
Cheers,
Mattze