
On this page, you find information about:
- how to build a Swiss dwarf signal (Schweizer Zwergsignal) with LEGO bricks,
- equipping the it with lights,
- automating the signal with a MattzoLayoutController.
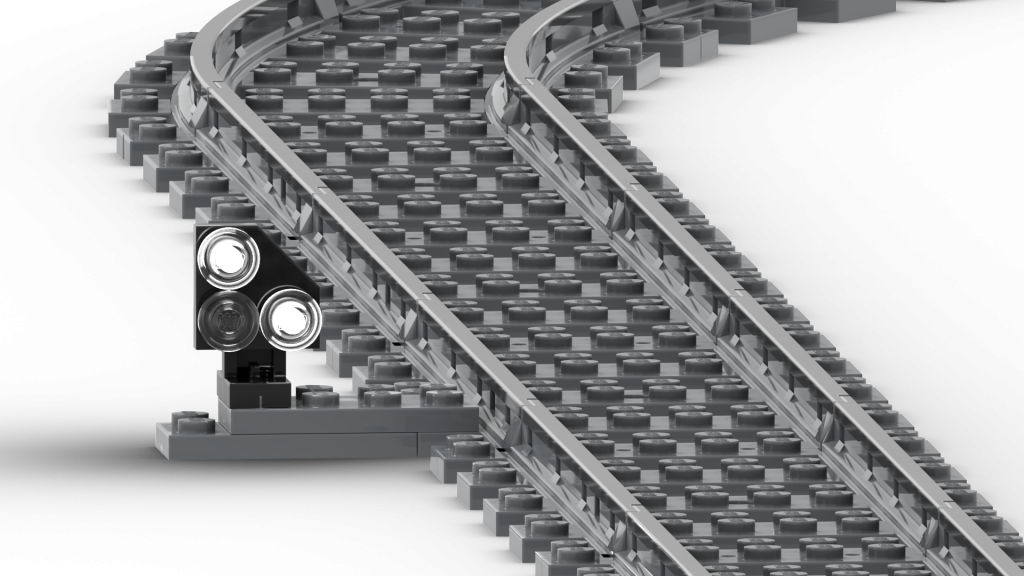
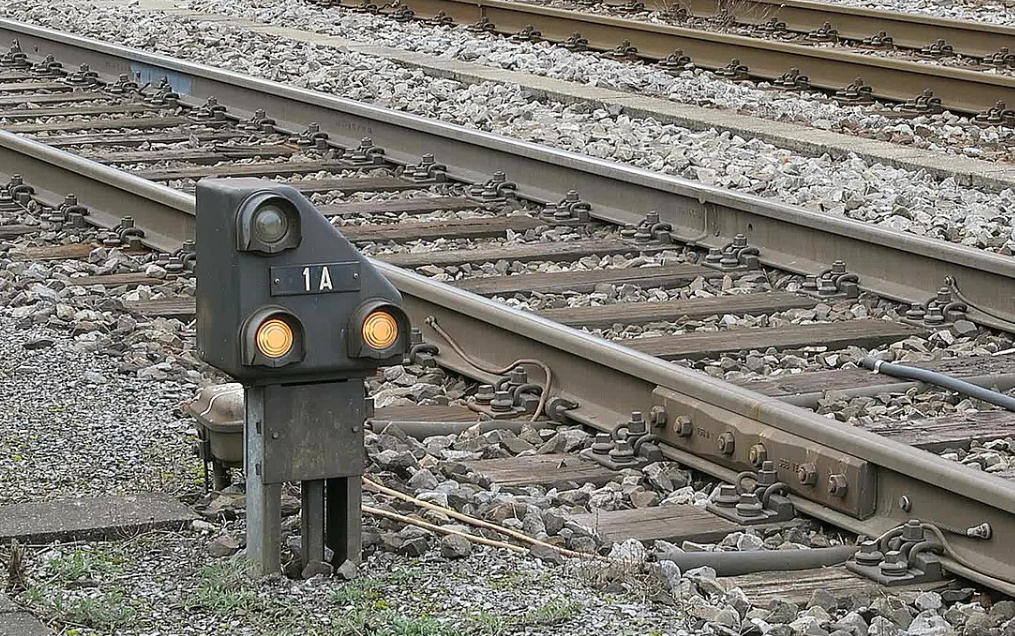
About the signal
The Swiss “Zwergsignal” dwarf signal has his name by the small and compact design and its position just above the ground. The signal is not just indicating shunting clearances. It is also indicative for operations on the mainline. The purpose of the signal is to protect the approaching train against danger points just ahead of the signal, and also protect other trains from the approaching train. The signal is usually located on the left side of the track.
The LEGO version was originally designed by Matthias Runte of MattzoBricks in 2025.
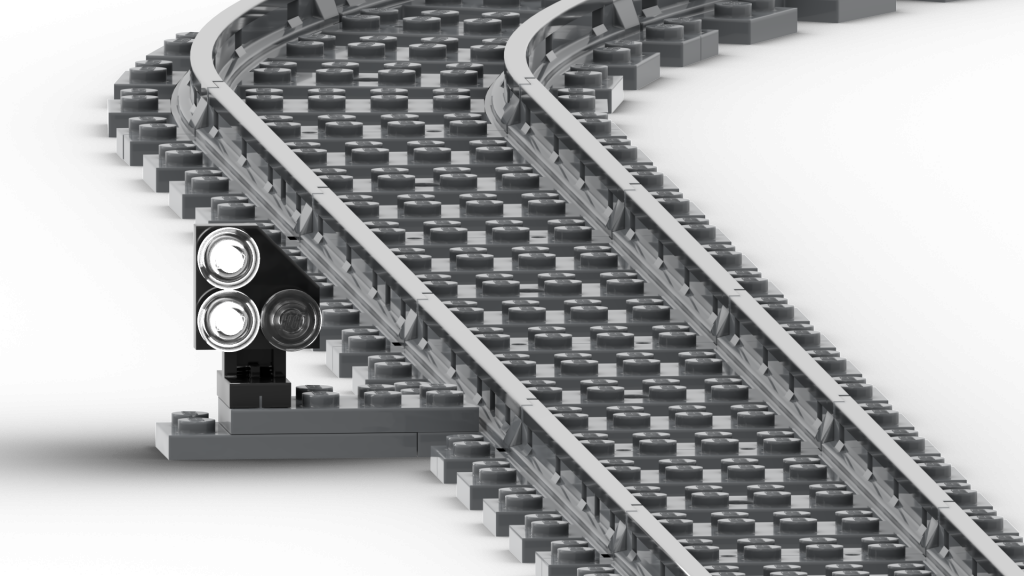
Aspects
The signal can show three different aspects.
Stop
Stop before the signal!
If train is stationary: do not start to move!
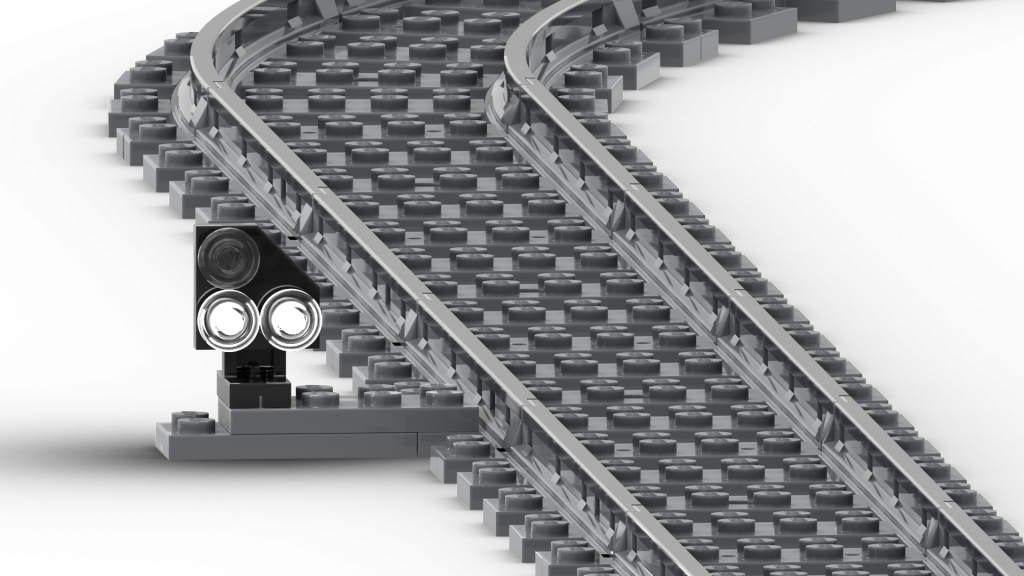
Proceed with caution
Start or continue to move!
Expect an obstacle at any point after the signal.
Proceed
Start or continue to move!
The next signal shows at minimum the “Proceed with caution” aspect.
How to build the signal
The signal is very simple to build.
Required Parts
The signal can be built with standard LEGO parts. No printed parts are required for this signal.
If you want to illumiante the signal, you need these extra parts:
- Three white LEDs. The precise LED type and sourcing information is indicated on the bill of materials.
To prevent the LEDs from burning off and to save electrical power, you may want to add some resistors to limit the current through the LED. At a voltage of 3,3V, 120 Ohm should usually be a good value. If in question, read the data sheet of your LEDs.
Automation
The signal is automated with a MattzoLayoutController (MLC). The MLC receives commands from Rocrail and lights up the correct LEDs for the current signal aspect.
Find more details about the MLC here.
To use the MLC with signals is described here.
Enjoy!