
MattzoTrainControllers are used to power up your trains and move them along your layout. They also provide outputs for lights and other appliances.
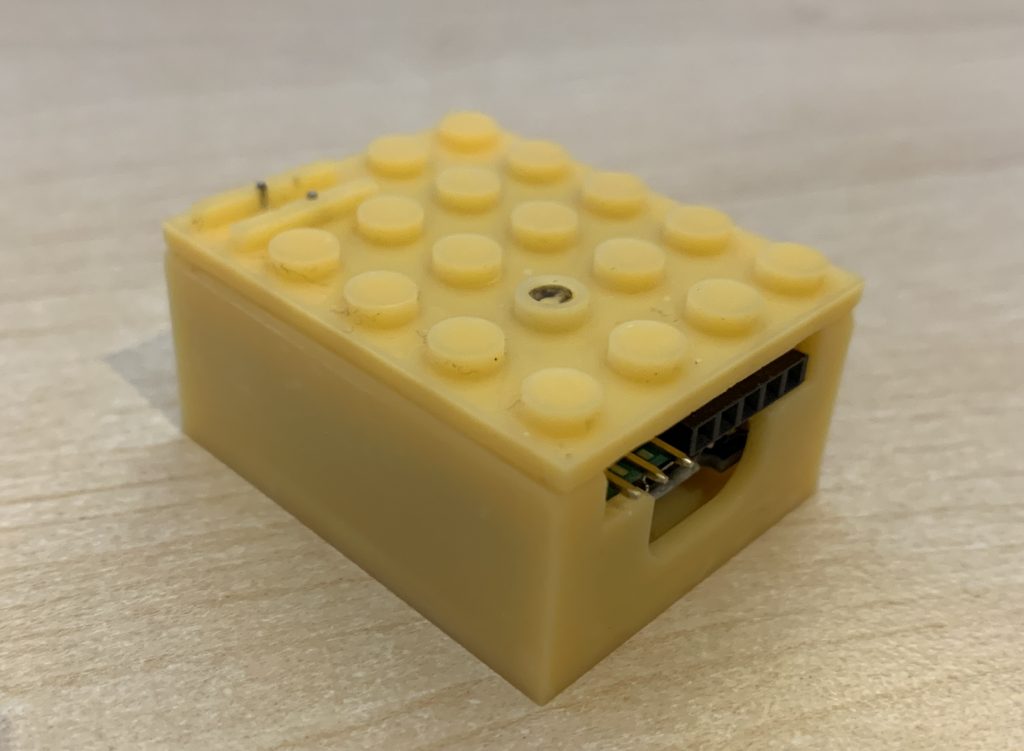
The following image shows a MTC4PF mini. It is only 4×5 studs (32x40mm) wide and 2 standard LEGO bricks (19,2mm without the top studs) high.
The MTC4PF mini is a compact, yet surprisingly versatile and powerful version of the MTC4PF and fits in almost every LEGO or compatible train.
This controller can be powered with a standard LEGO battery box or compatible or any other equivalent power source around 9V. It controls and powers one or two LEGO train motors and also operates 2 LEDs, e.g. for train or interior lights. In one of the studs on the top is a status LED for WIFI and MQTT connectivity. The interior uses a PCB that was especially designed for this controller.
Mattzobricks’ core development team member Jona has designed this wonderful controller. He has also compiled building instructions (in German), created STL files for the case and provided Gerber files to order the PCB. Please note that you should use a resin printer to print the case. Printing the case with a filament printer might not give you the result that you desire.
Instructions and STL files are available for download here.
Download the Gerber files for ordering PCBs here.
There is three power connection, how do you connect them? To a lego battery box or a own build battery?
From the circuit diagram, the middle is the “+” one, and the left and right are the ground ones.
You can salvage a Lego Power Functions cable and put some male Dupont 2.54mm connectors on it, or use your battery box (also with male Dupont connectors). The Power Functions cable pinout is available online. Just search for it. I would recommend putting a switch between the power and the controller so that you can easily switch your loco on and off.
My printer is saying that the file for the bottom of the mini doesn’t contain geometry data. Anyone else have this issue?
Fixed it with blender..
I’m not that knowledgeable in 3D printing, I would be happy if I could get a bug-fixed STL file for the housing node. My brother would then print it for me.
We are not aware of any issues with the stl file.