The layouts on this page use R104 switches from TrixBrix.
All track layouts were created with Bluebrick and the TrixBrix track library for Bluebrick.
The R104 Railyard System
Railyard R40 vs. R104
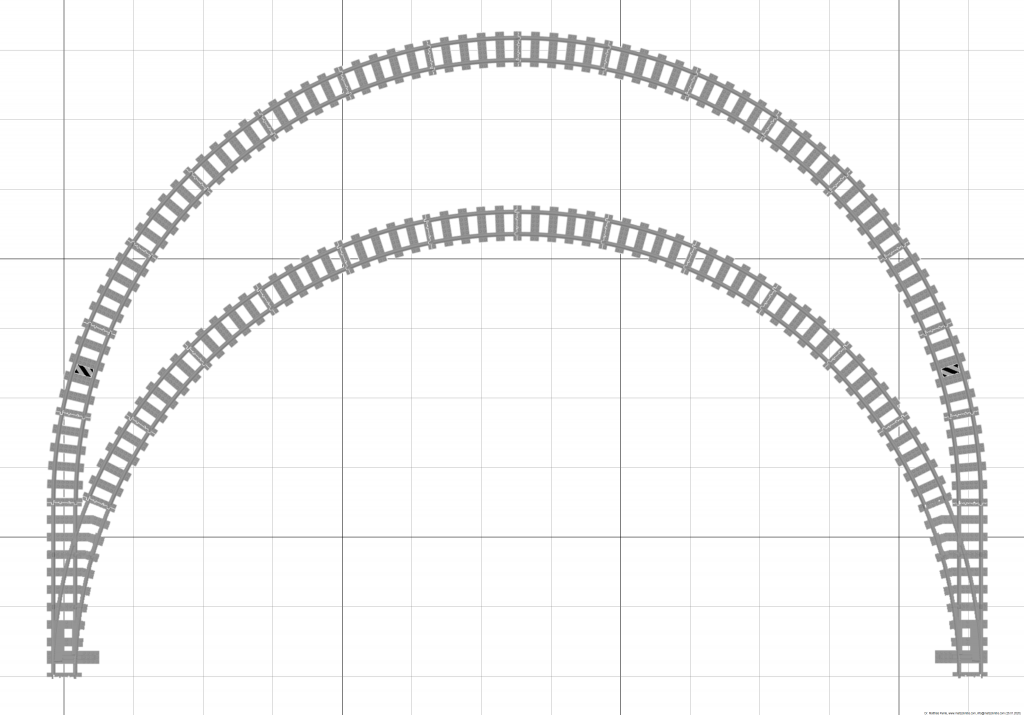
R104 Ballast Curves
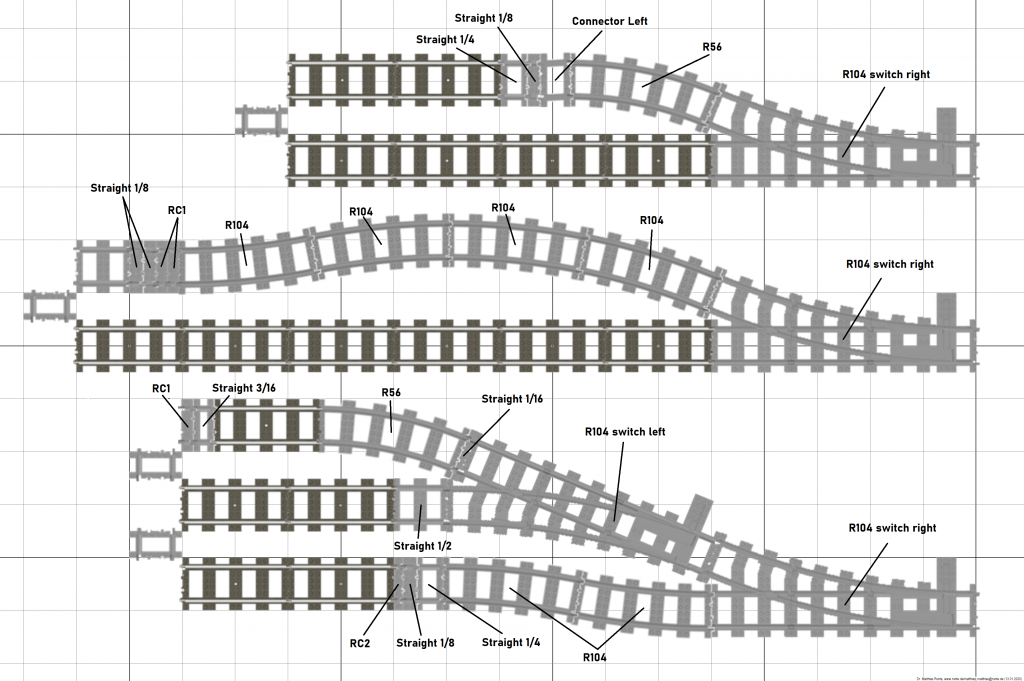
Compact station with 4 tracks and partial R104 switch fields
Station with 4 tracks and complete R104 switch fields

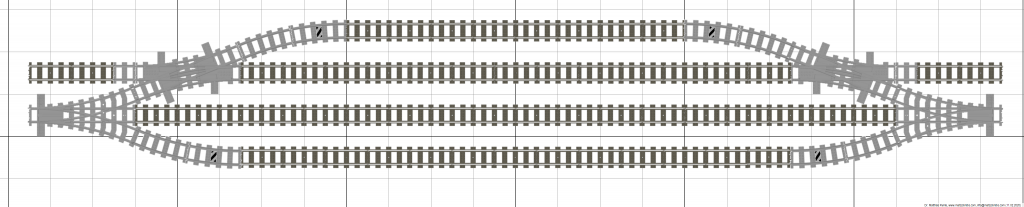
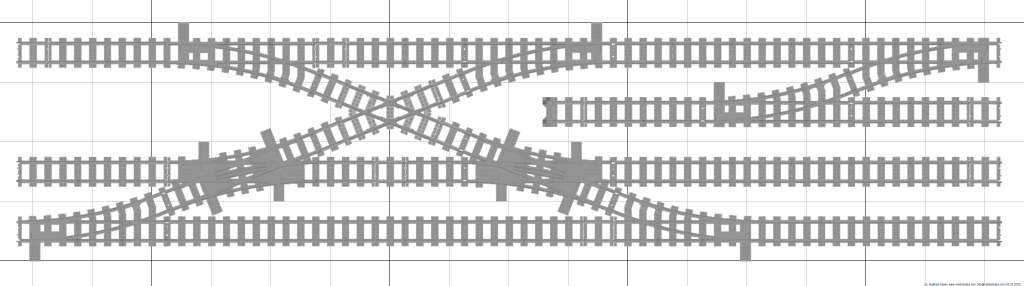
Station with 4 tracks and double slip crossover

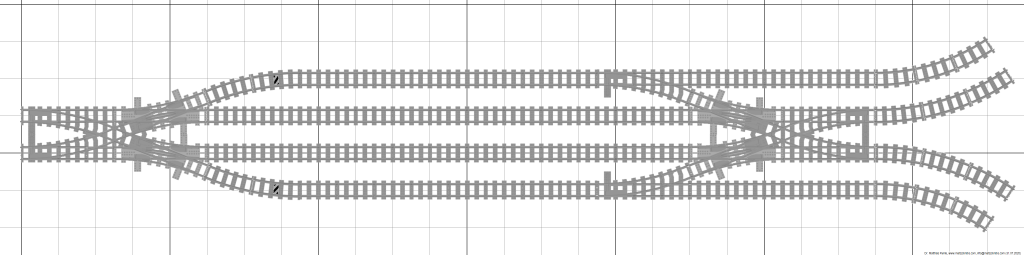
Station with 4 tracks and diverging double slip crossover
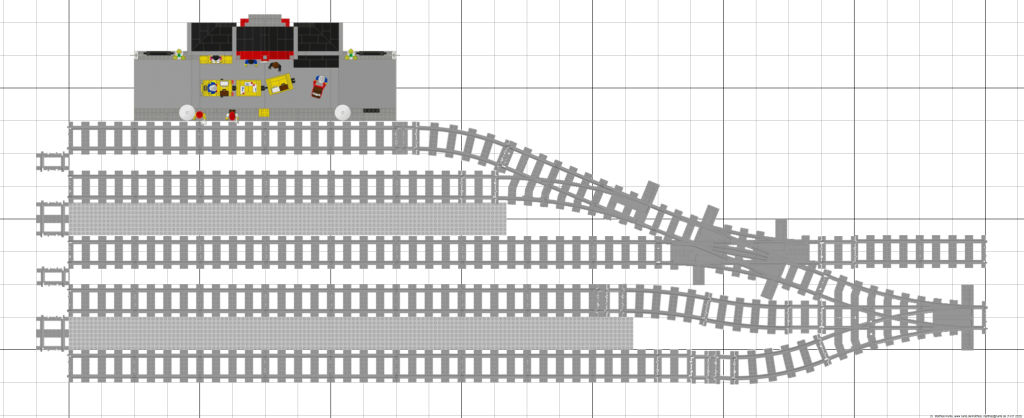
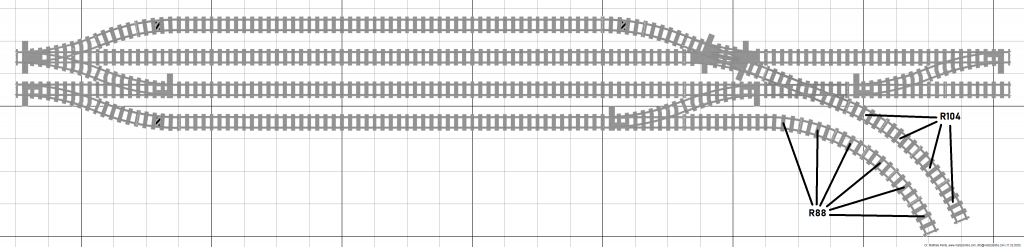
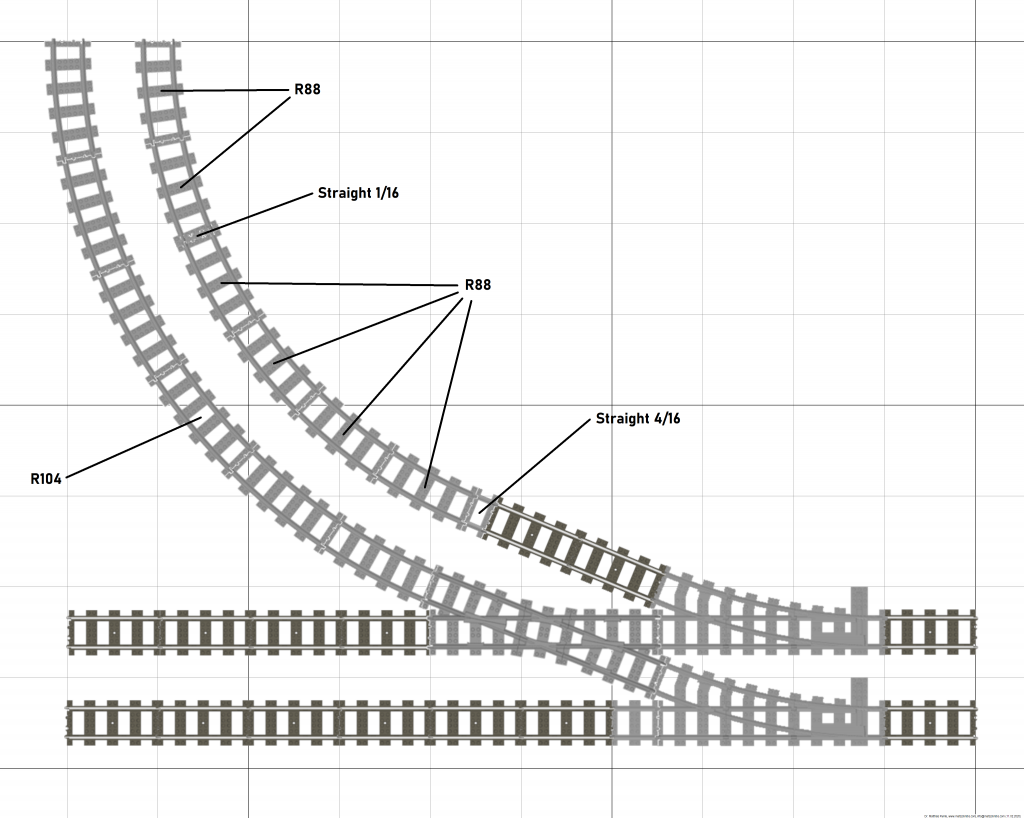
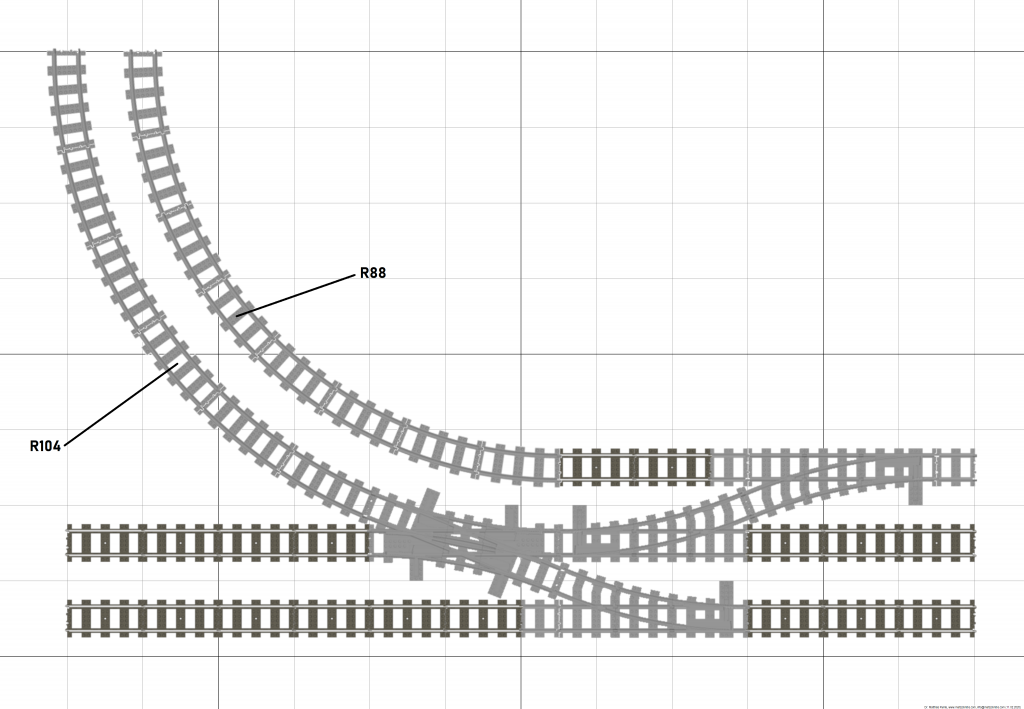
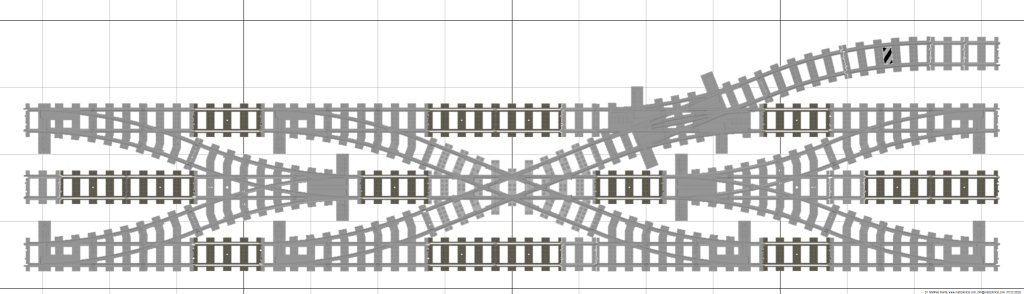
Station with 4 tracks, R104 switch fields and diverging tracks
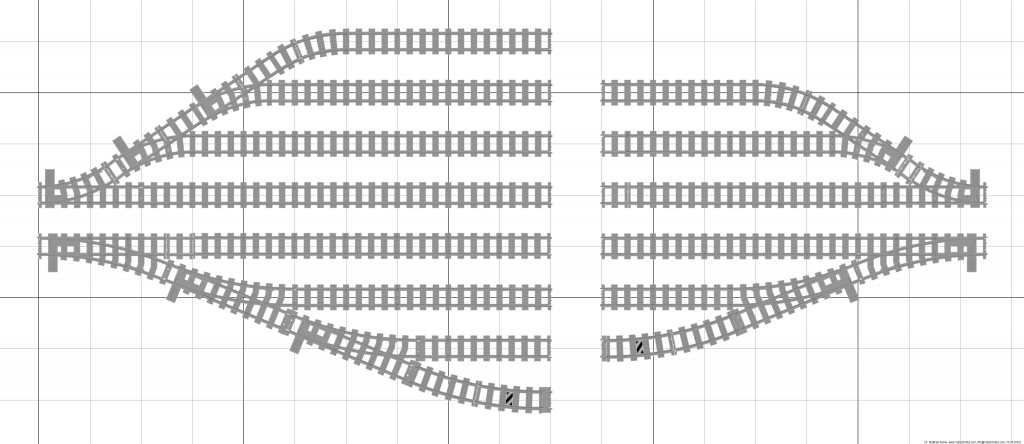
Switched double track curve section R104/R120
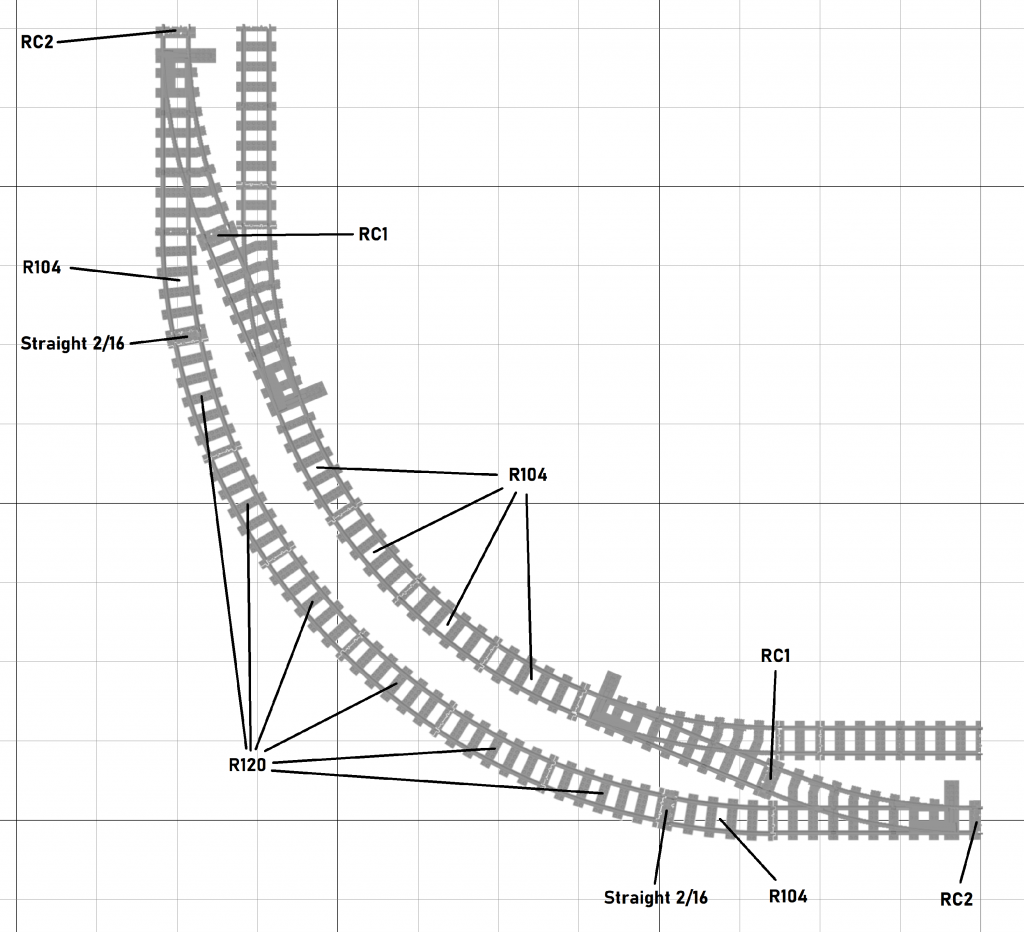
Switched double track curve section R104/R120 with 3 exits
Switched triple track curve section R104/R120/R136
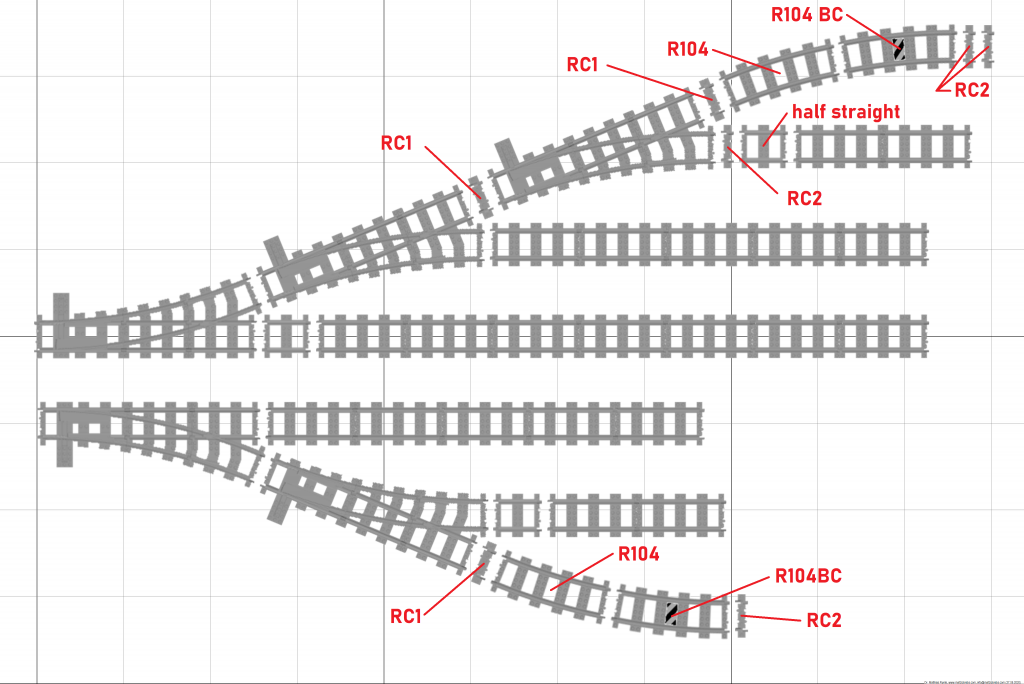
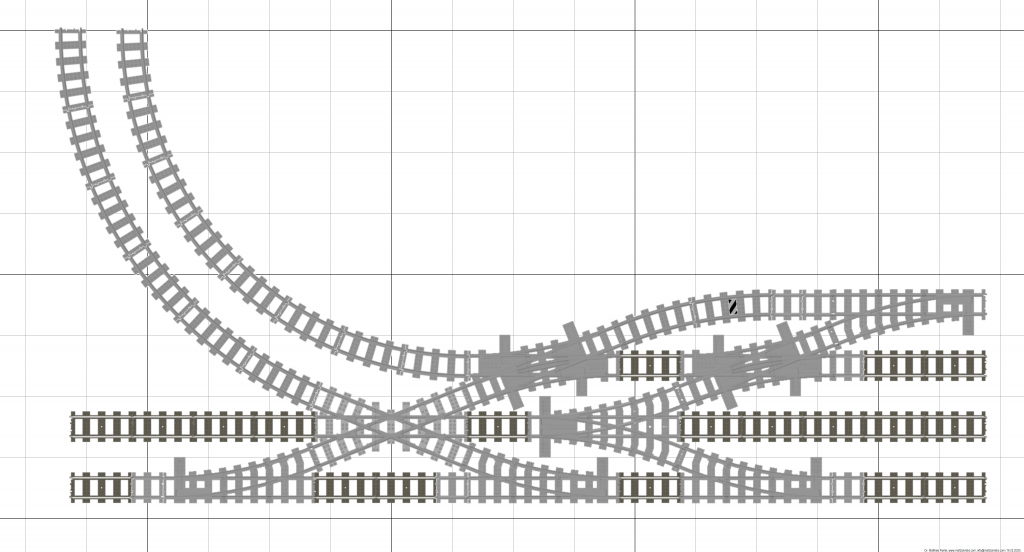
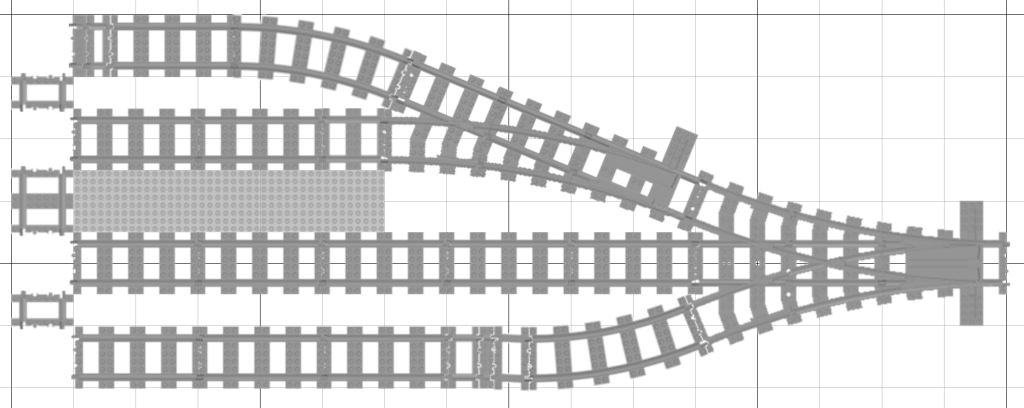
Diverging parallel tracks with R104 switches from 2-track main line
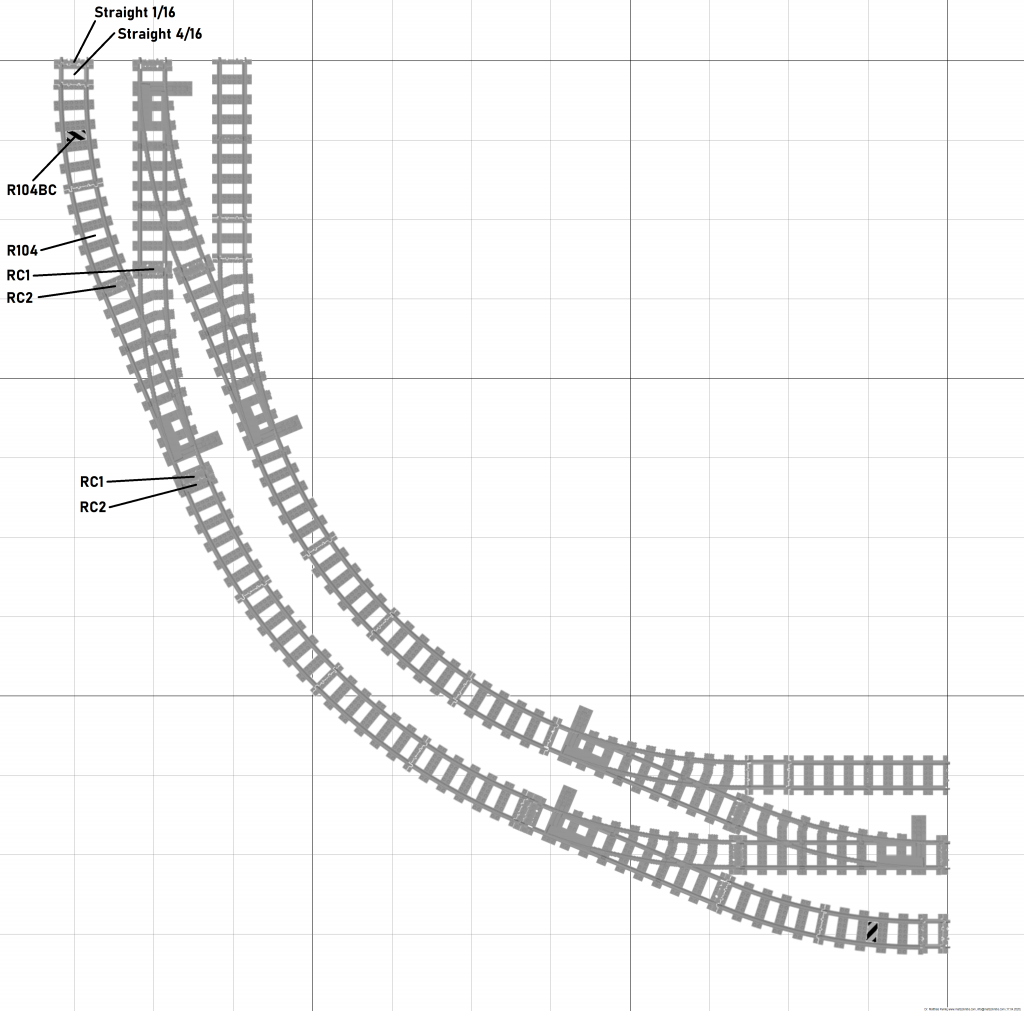
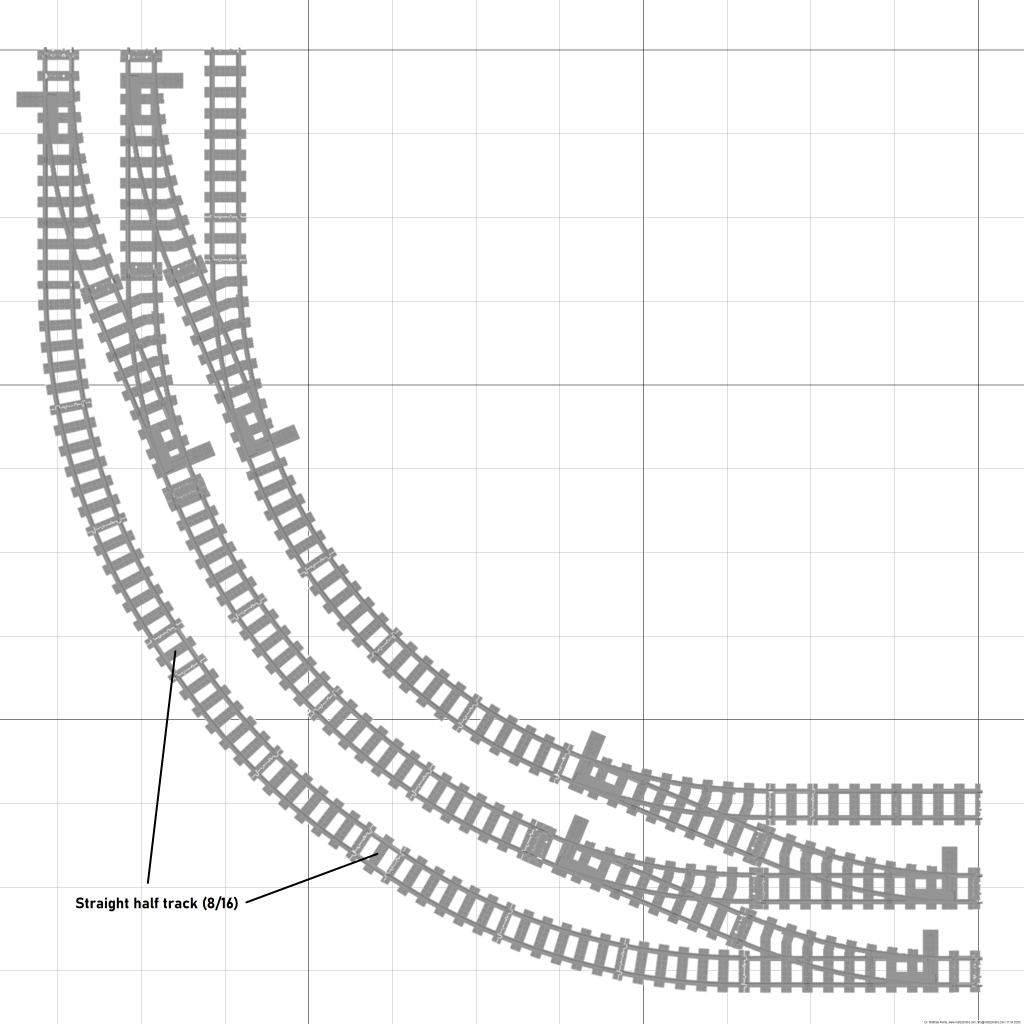
Diverging parallel tracks with R104 switches from 3-track main line
Diverging parallel tracks with R104 switches from 4-track main line
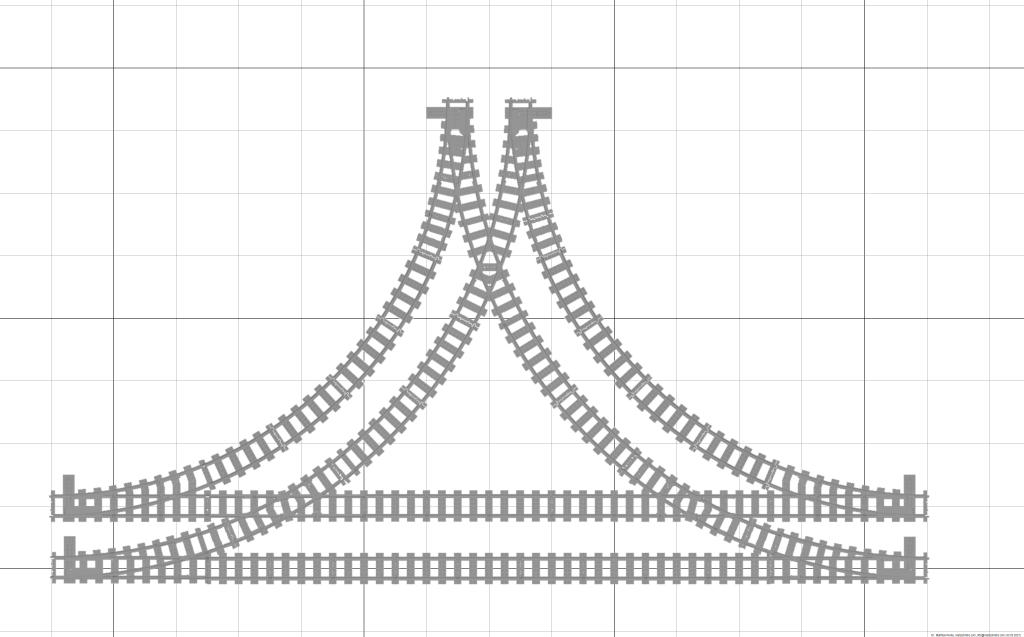
R104 Diverging Tracks
R104 Switch Field with Star Crossing
R104 Crossing 45° with Switch Field
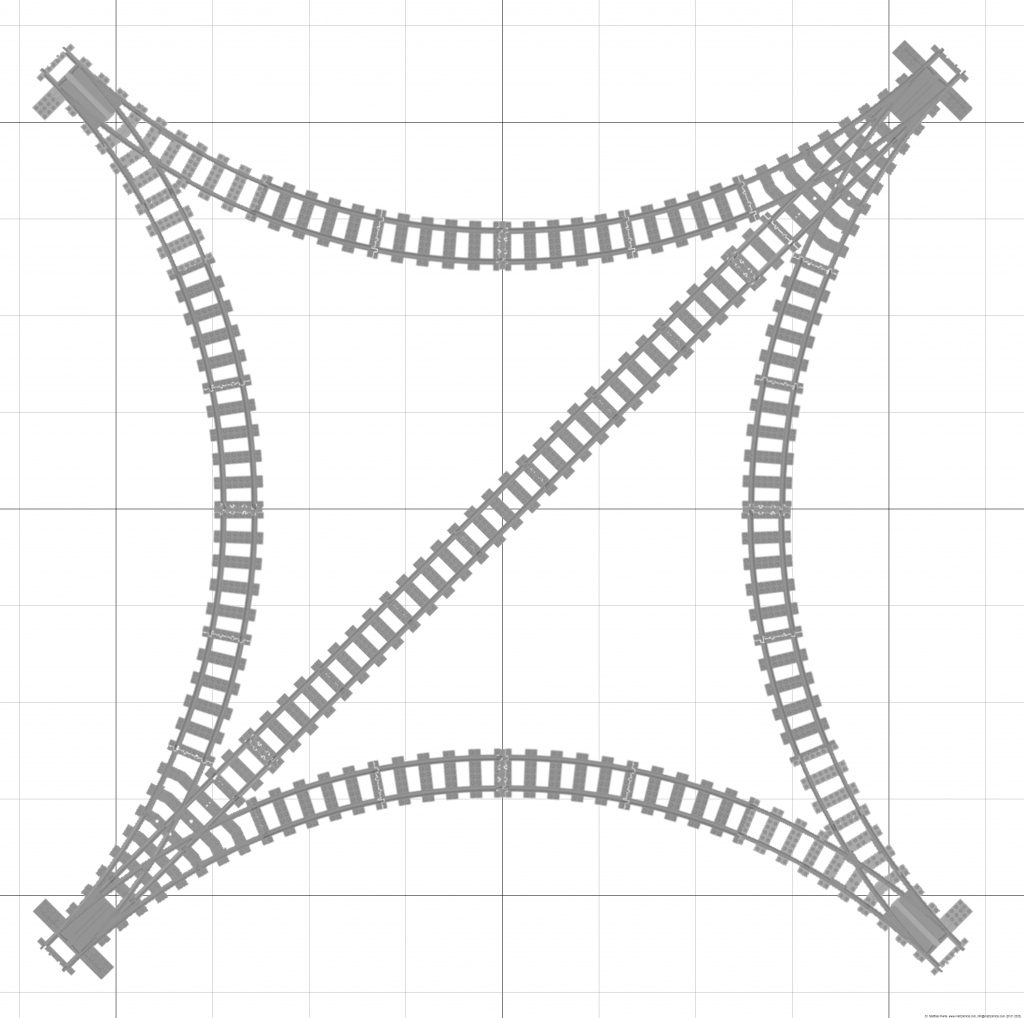
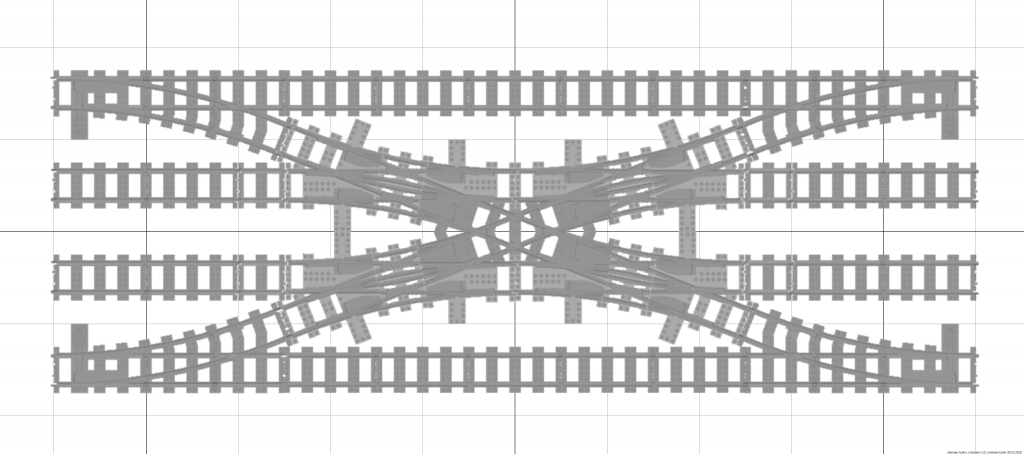
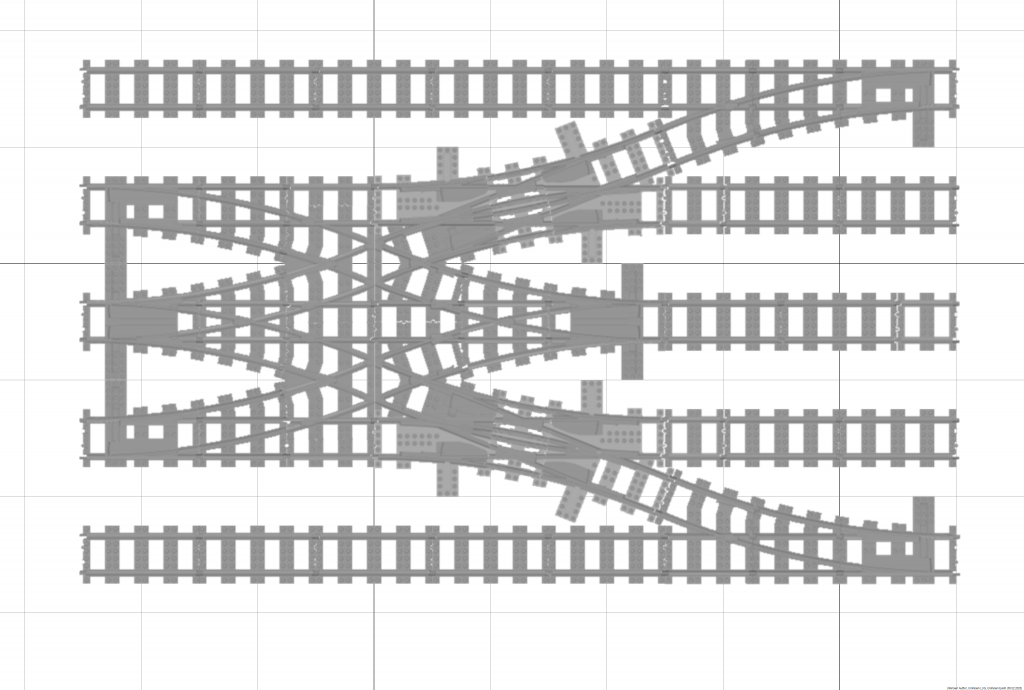
Large Crossing with 4 R104 Triple Switches

Large Crossing with 2 R104 Triple- and 2 Wye-Switches
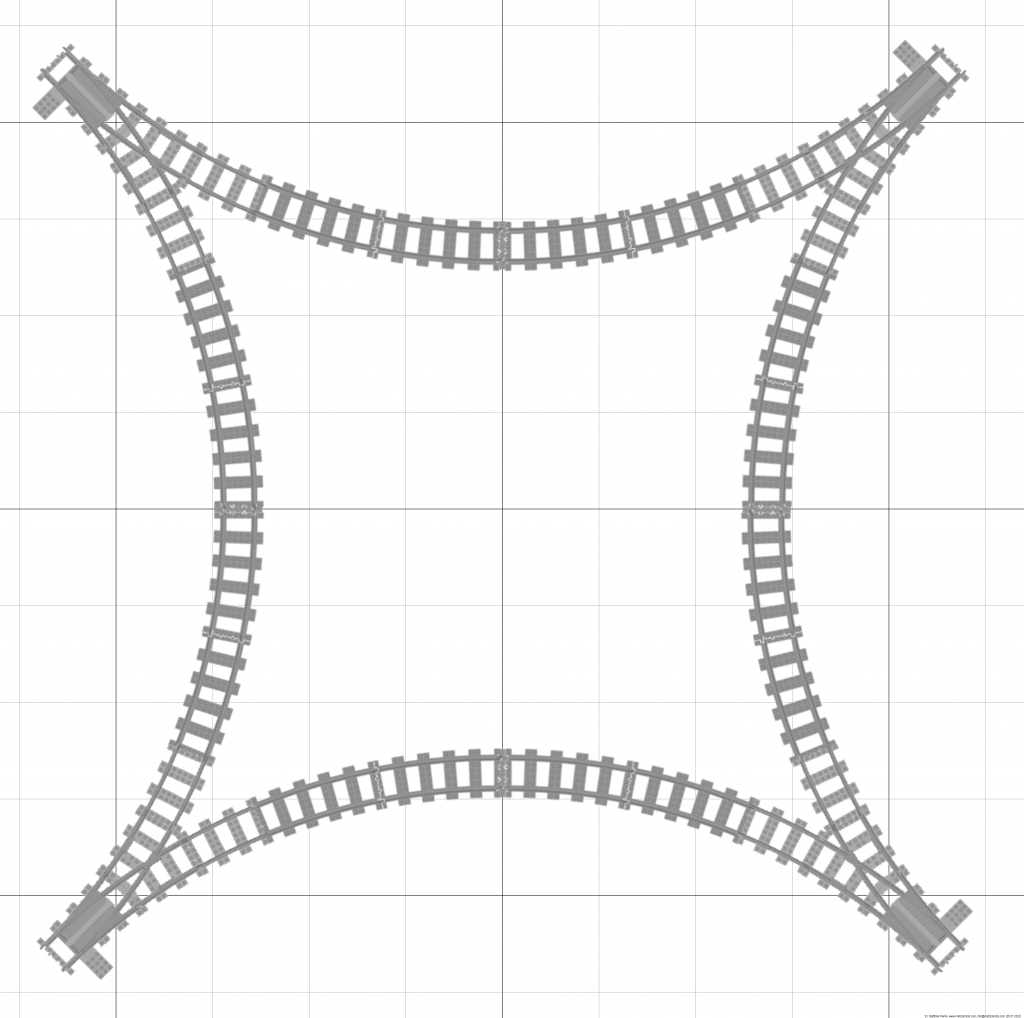
Large Crossing with 4 R104 Wye-Switches
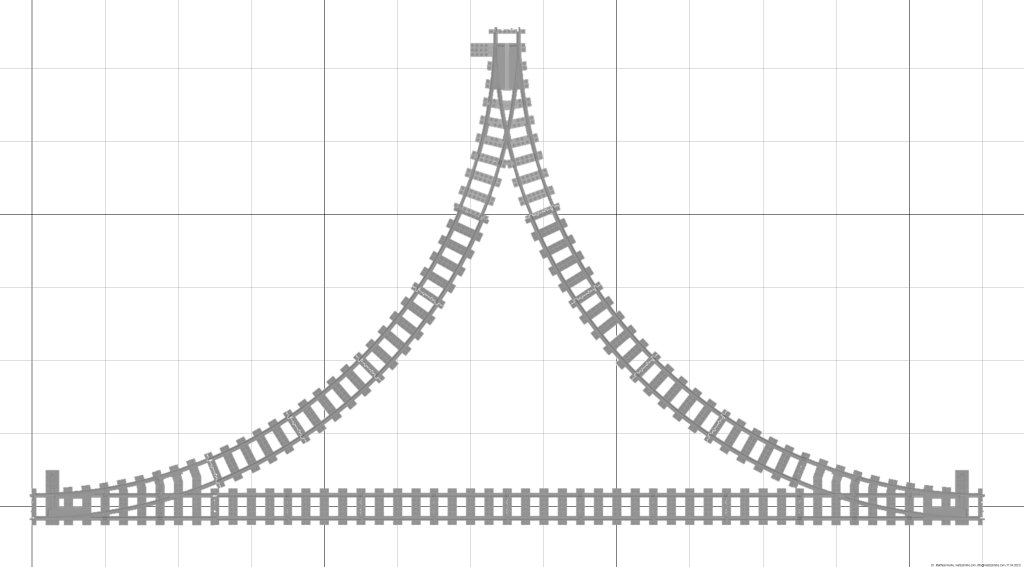
R104 Single T-Junction
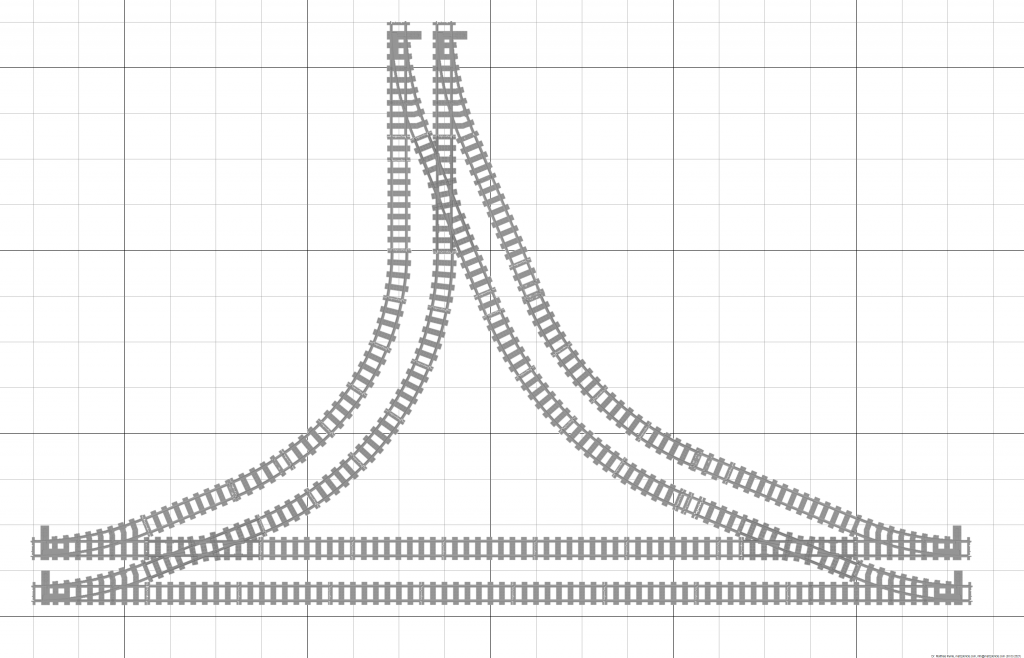
R104 Double T-Junction
R104-R120 T-Junction
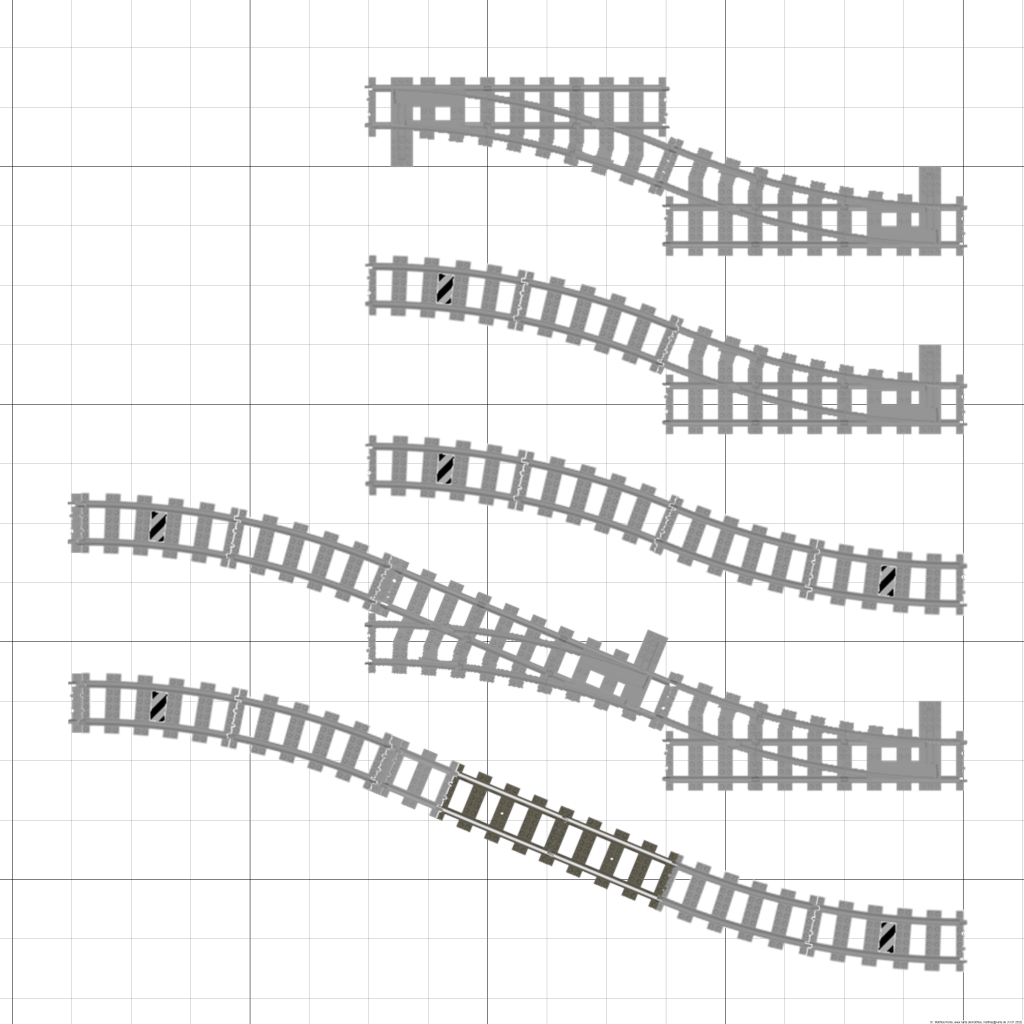
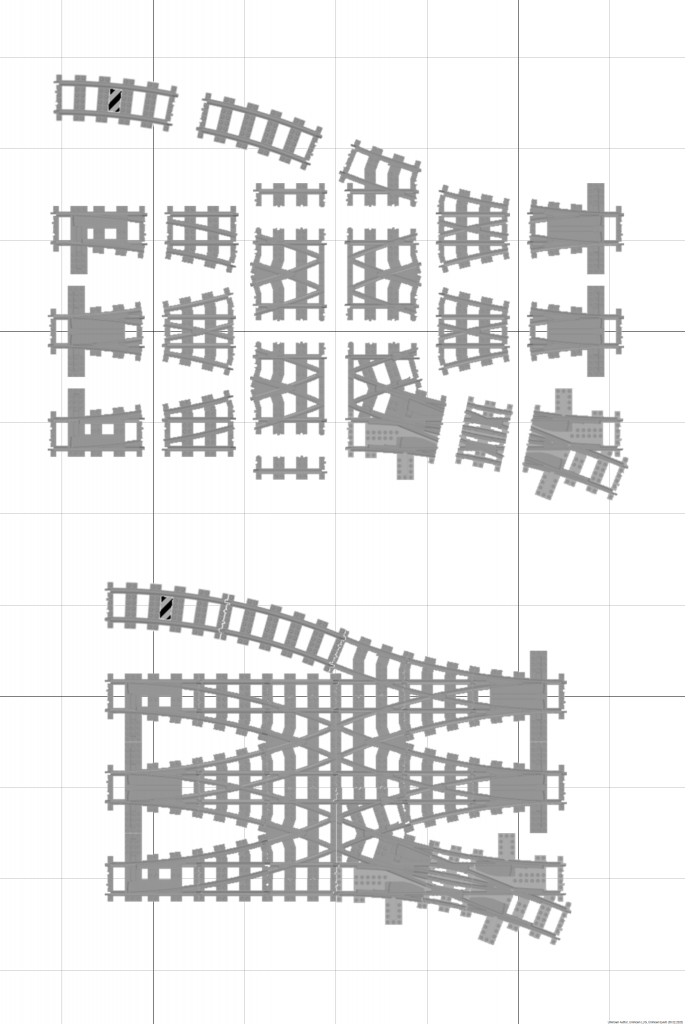
R104 Monster Switch Components
Double Slip Crossover R104
Extended Double Slip Crossover R104 with six tracks

Double Slip Crossover Switch Field (XL)
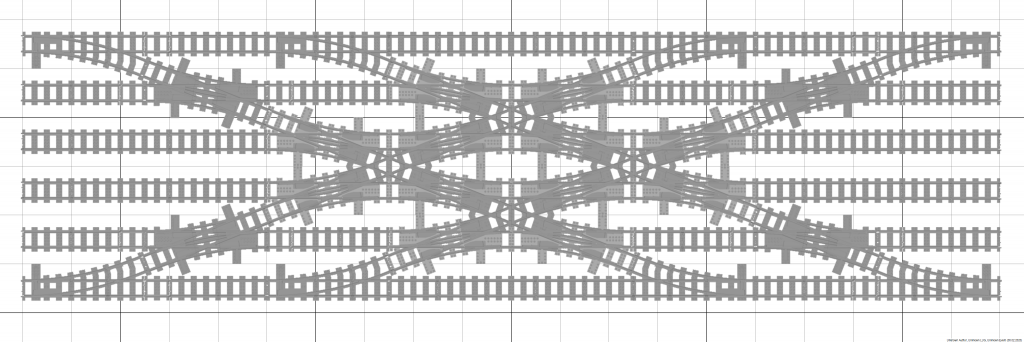
Double Slip Crossover Switches in Monster Crossover R104
Parallel tracks with 4 studs distance and R104 switches
4-track station with reduced track distance
5-track station with reduced track distance