On this page, you will find the following instructions:
- how to build a German semaphore main signal with LEGO bricks,
- how to equip it with lights,
- how to motorize the blades, and
- how to automate the signal with a MattzoLayoutController.
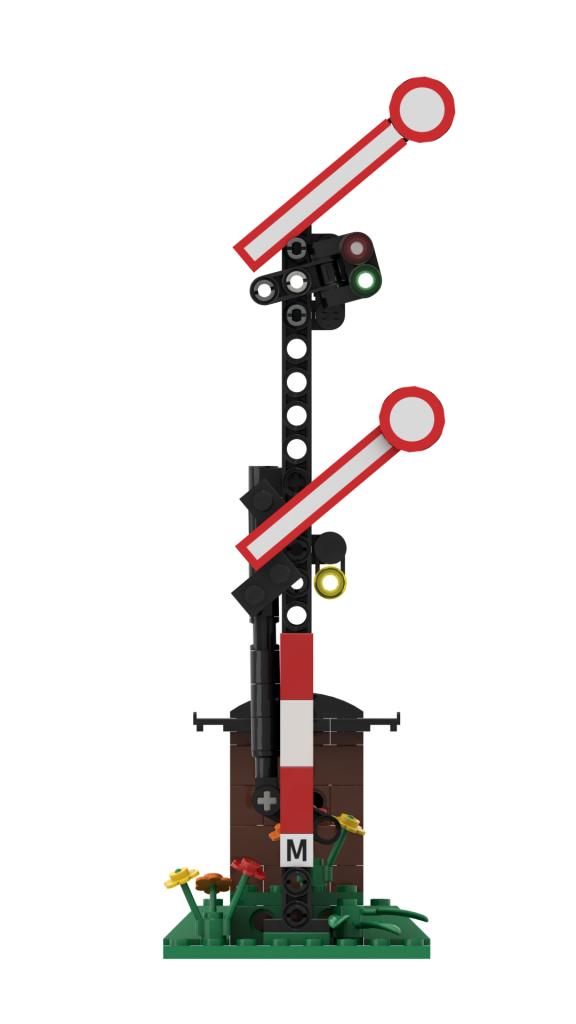
Media
I have created some videos about the signal. In the end are some nice LEGO train operation scenes featuring the signal, so make sure to watch it until the end. 🙂
English versions
Part 1:
Part 2:
German Versions / Deutsche Versionen
Teil 1:
Part 2:
About the signal
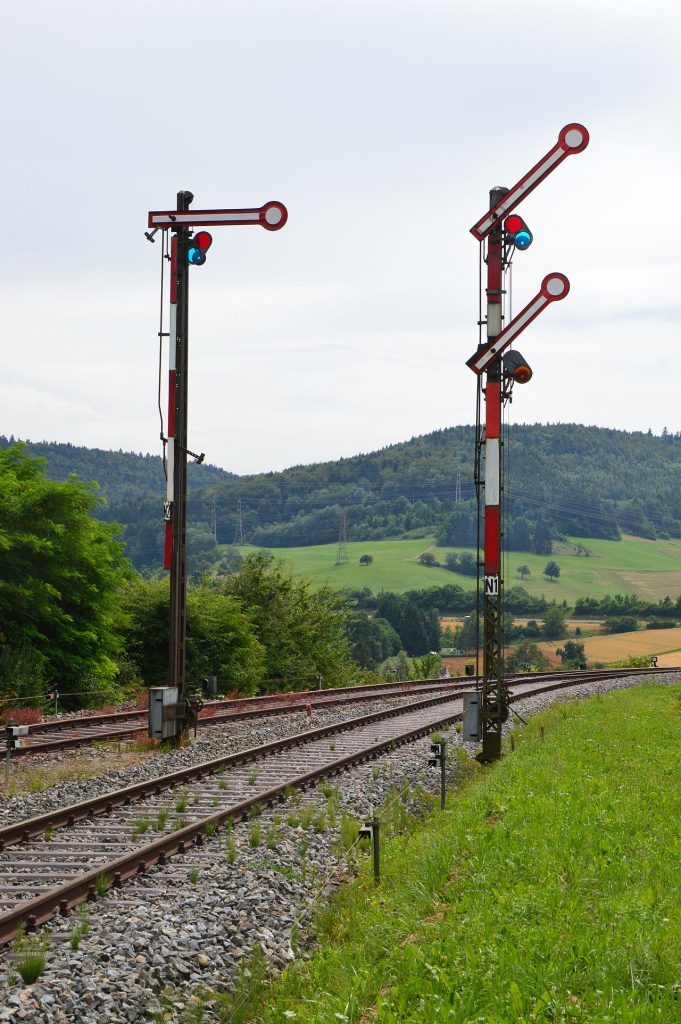
The signal was designed by Matthias Runte of MattzoBricks in 2021. Shape and functionality is based on the German semaphore main signal (Formhauptsignal) that was common on German railroads since the 19th century. Even though form signals are being replaced since the 1970s by light signals, the signal is still used in many train stations and on smaller main tracks in Germany.
There is a two-aspect and a three-aspect version of the signal.
Alternative Builds
The signal can be built as a:
- two-aspect or
- three-aspect
signal.
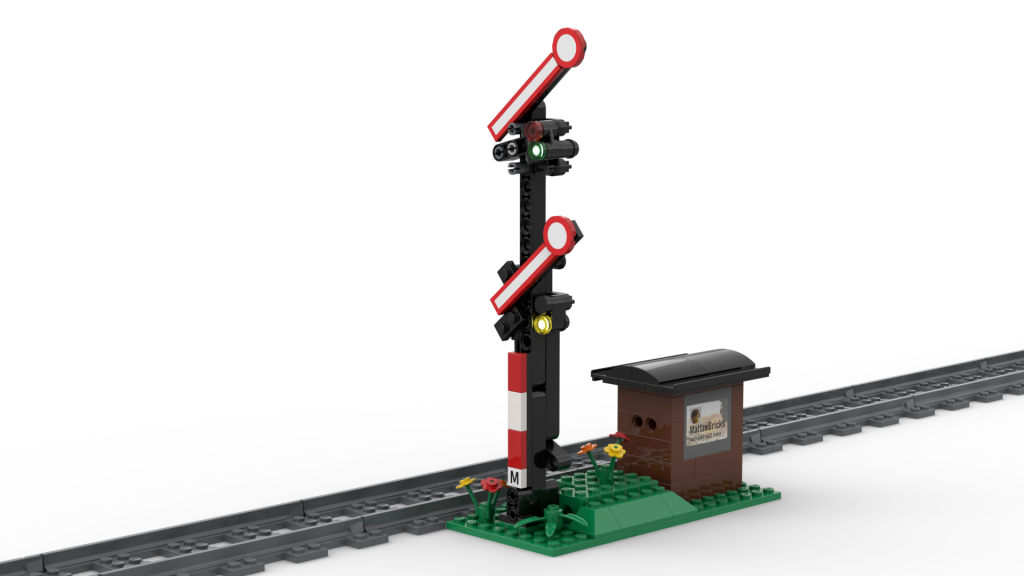
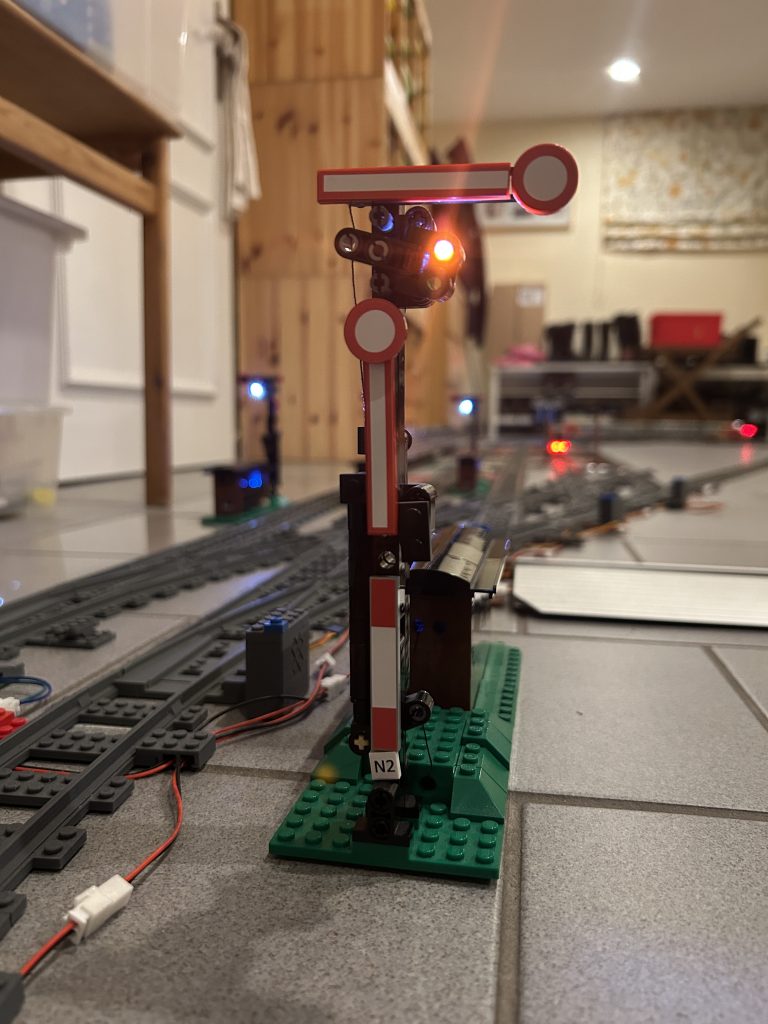
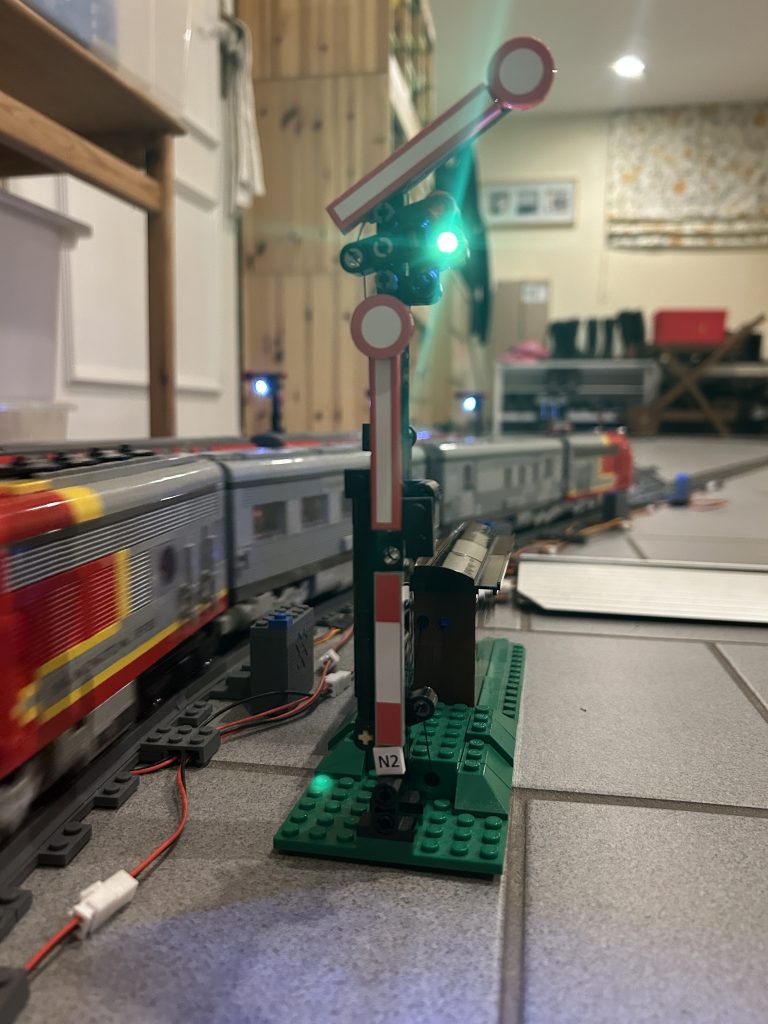
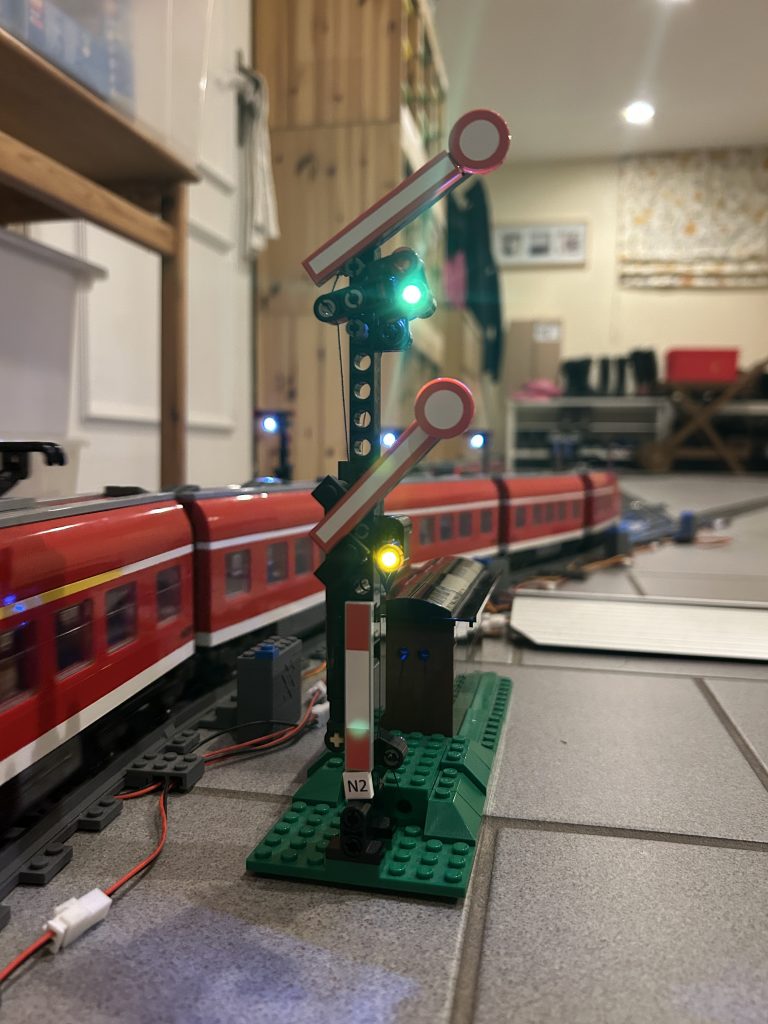
The following picture shows the three-aspect signal.
The following picture show the two-aspect signal.
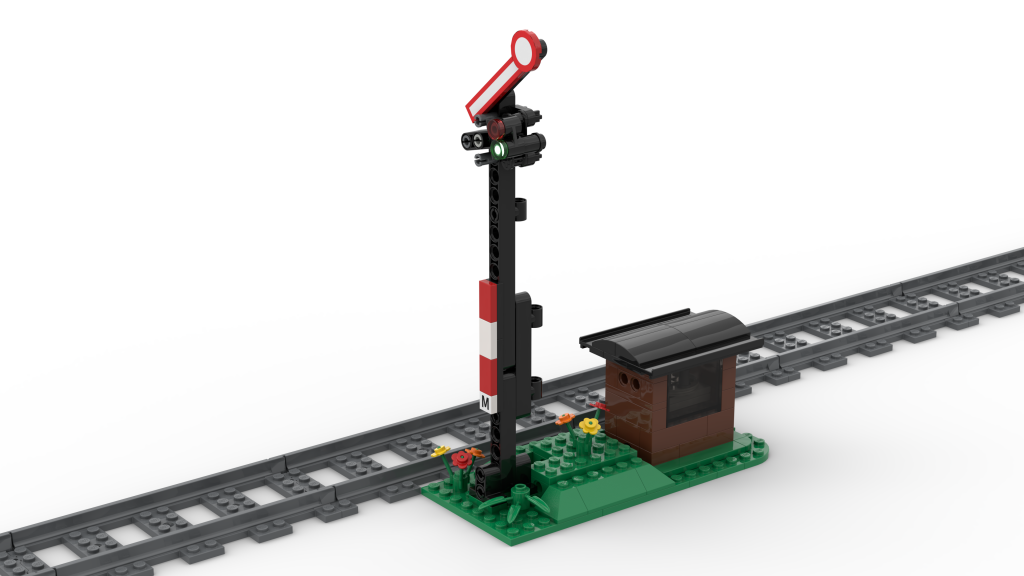
The published building instructions contain instructions for the three-aspect signal only. If I find the time, I will also compile instructions for the two-aspect signal in the future.
Some advice until then: if you want to build the two-aspect signal, you can just follow the instructions for the three-aspect signal and leave away the lower blade including the mechanics that controls it. The details of the signal post also vary between the two versions.
Building Instructions

Servo House
There are two versions of the servo house. The small one contains just the servo. The building instructions are covered in the instructions for the semaphore signal.
The alternative house is larger and has space for a MattzoLayoutController on a ESP-8266 development board and a 9V rechargeable battery. When using the large servo house, you can build the signal as an autonomous assembly that can be placed as a unit anywhere on the layout without the need to wire it to a power source or a MattzoLayoutController.

Required Parts
The signal can be build with standard LEGO parts (or compatible). No printed parts are required for this signal.
The list of required bricks is contained in the building instructions.
Additional parts are:
- A white vinyl sticker for the blades
- Single Studs (“Einzelnoppen”; e.g. available on Bluebrixx)
- 1 white LED (5mm) for the 2-aspect signal, 2 white LEDs (5mm) for the 3-aspect signal
- Thin copper wires with black lace to power up the LEDs
- A servo to motorize the blade
- Some inches of jeans thread or similar to connect the servo to the blades
More information about required materials and how to purchase it can be found here.
Decals
The blades are made of red tiles with vinyl stickers. The shape of these stickers is very simple. To make them, I just bought a cheap “D” vinyl sticker for cars and used the cut the white part of it into fitting pieces.
Other useful decals can be found on the instruction page for the semaphore distant signal.
Lights
To equip the signal with lights, I have used 2 white 5mm LEDs. The LEDs fit perfectly into the holes of the LEGO parts as shown on the pictures. The wires are very thin, black copper wires used for model scale train layouts. The wires can be put between the mast parts. This way they are almost completely hidden and very hard to spot at all. The lights are connected to the MattzoLayoutController on some plus (3,3V) and minus (ground) terminals. To prevent the LEDs from burning off and to save electrical power, you may want to add some resistors to limit the current through the LED.
Motorizing
I have used a “Geekservo 270° servo” to make the disk, the blade and the spectacles move. This servo is available under different brands and is available from various resources on the web for a reasonable price.
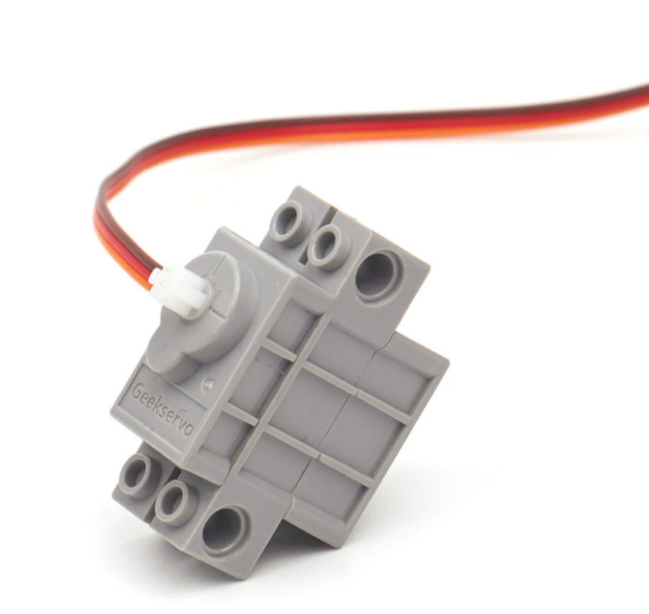
The idea is that the servo rotates to a specific angle when the MattzoLayoutController gets a signal command for the different aspects.
The servo is placed in the little brown house behind the signal.
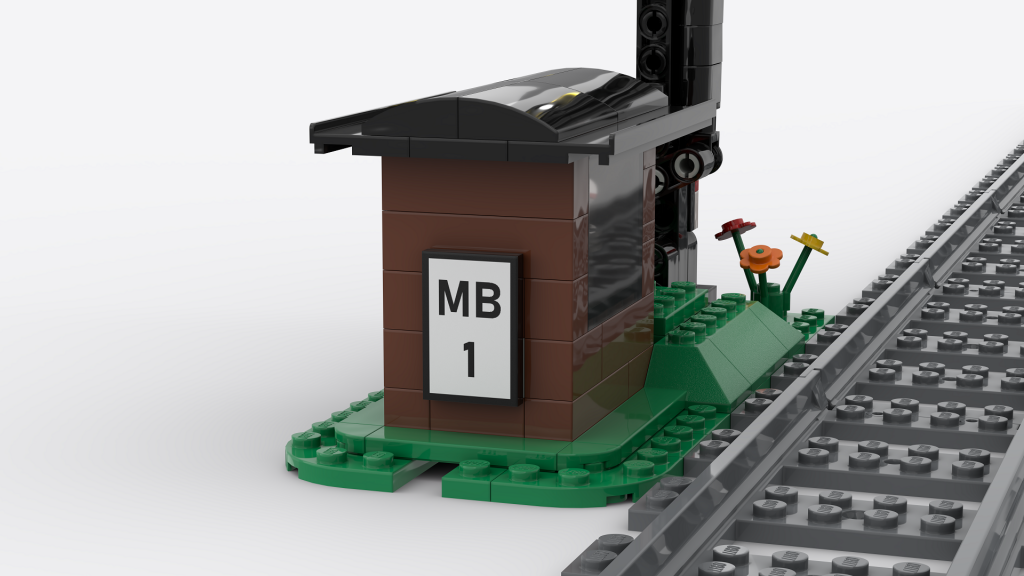
If you want the assembly to be fully autonomous, you may build a larger house that also covers the MattzoLayoutController and a rechargeable battery.
If you build your layout with MILS or similar techniques, you can place the servo under the tracks instead.
Please note that you control both blades of the three aspect signal with a single servo only.
Here is an overview about the servo angles that I have used:
| Signal type | Aspect | Directly Wired | Wired via PCA9685 |
|---|---|---|---|
| 2-aspect semaphore | Hp0 (stop) | 170° | 150° |
| 2-aspect semaphore | Hp1 (go) | 115° | 100° |
| 3-aspect semaphore | Hp0 (stop) | 90° | 90° |
| 3-aspect semaphore | Hp1 (go) | 15° | 40° |
| 3-aspect semaphore | Hp2 (slow) | 160° | 130° |
The servo angles will vary depending on a couple of factors. If the servo angles don’t fit, just play around with them in the MattzoLayoutConfiguration until they fit to your needs. Adjusting the length of the wire to the blade is also a factor that you can play with.
Automation
The signal is automated with a MattzoLayoutController (MLC). The MLC controls the servo for the blades, and provide current for the LEDs. For the three aspect signal, you may also use the controller to switch on the yellow light only if it is used (when showing the slow aspect).
Find more details about the MLC here.
To use the MLC with signals is described here.
In the firmware package, there is an example configuration file called “MLC_conf_FormSignals.h” that should help you to easily configure your signals.
Enjoy!

Vielen Dank für die Mühe, die Signale sehen klasse aus. Gibt es deine Teilelisten auch irgendwie digital, dass diese beim Teilelieferanten hochgeladen werden können?
Danke. Am Schluss der Anleitung ist eine Teileliste. Eine digitale Liste gibt es leider nicht.
Hier die Teileliste für das 3-aspect semaphore https://rebrickable.com/users/bendim/lists/547473/
und hier für das große Servohaus. https://rebrickable.com/users/bendim/lists/547701/
Hi Dr. Matthias Runte, I’m so excited about your project on this semaphore! Thanks for sharing! But I wonder if there’s a manual version that does not rely on the servo but some controlling sticks to change the aspect of the signal. If there’s any, I would be so grateful for that.
Sounds like a good idea, and yes, it should be doable with a bit of thinking and LEGO technic.