On this page, you find information about:
- how to build a German H/V light distance signal with LEGO bricks,
- equipping the it with lights,
- automating the signal with a MattzoLayoutController.
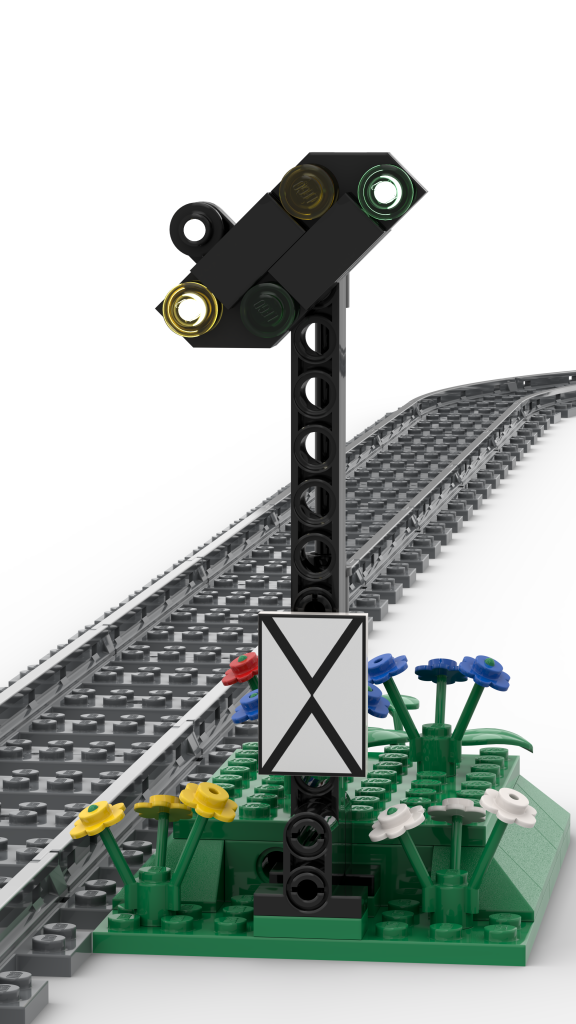
About the signal
The signal was originally designed by Matthias Runte of MattzoBricks in 2021 and refined in 2022 and 2023. Julius Brönner contributed some valueable ideas and details in 2023.
Shape and functionality is based on the German H/V light distance signal (Lichtvorsignal im H/V-System) that was common on German railroads since about mid of the 20th century.
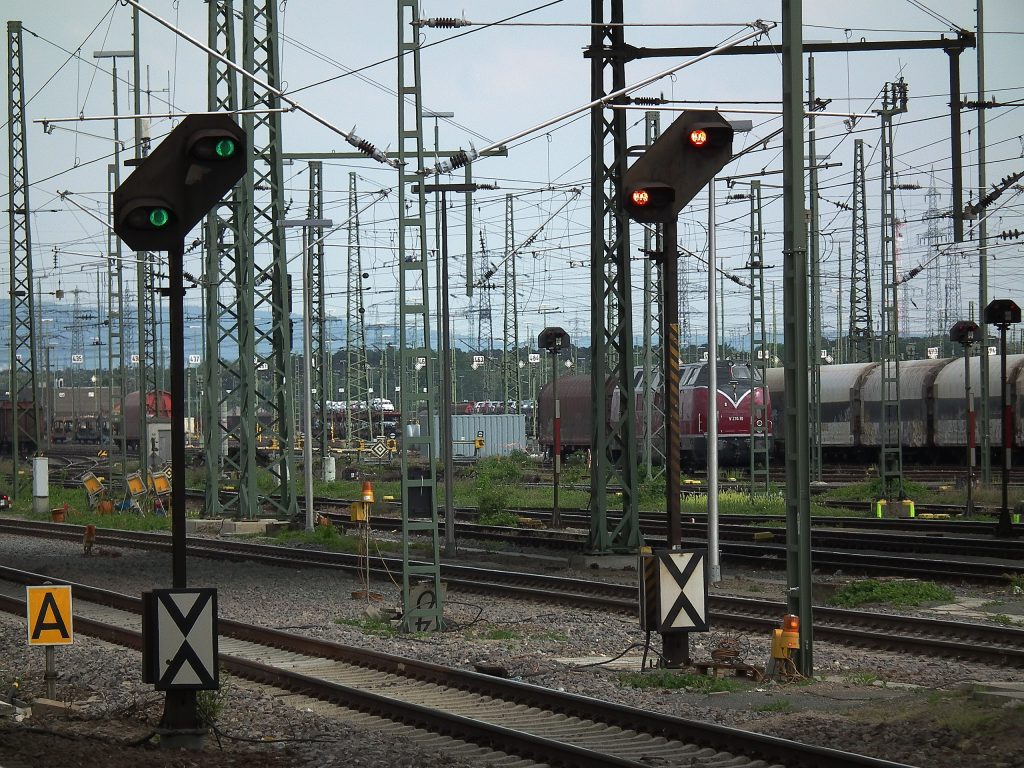
Even though this type of light signal is being replaced by combination light signals that integrate distant signals into the main signal, the signal is still used on many railway tracks throughout Germany.
Options
The signal can be equipped with options.
Basic function
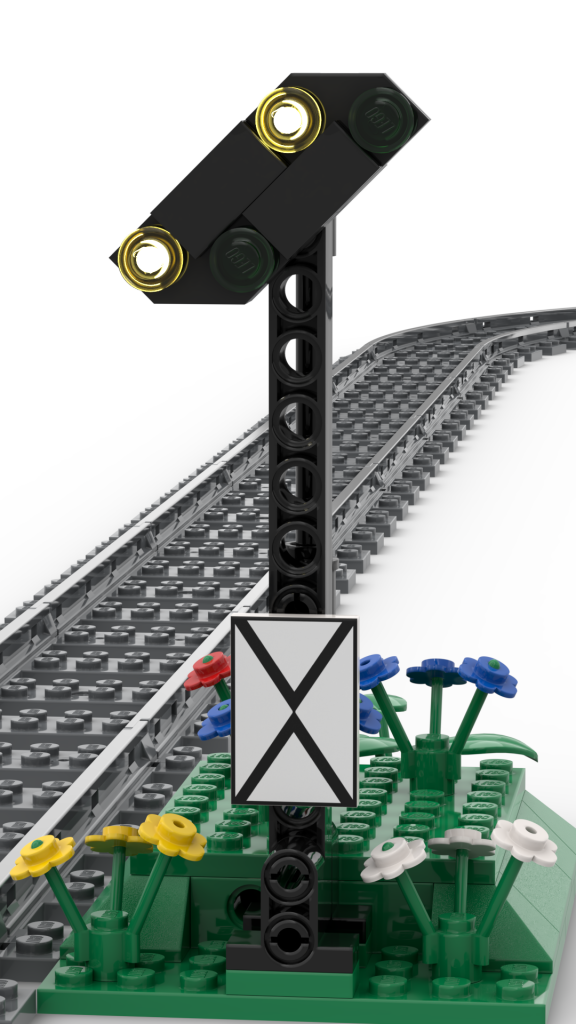
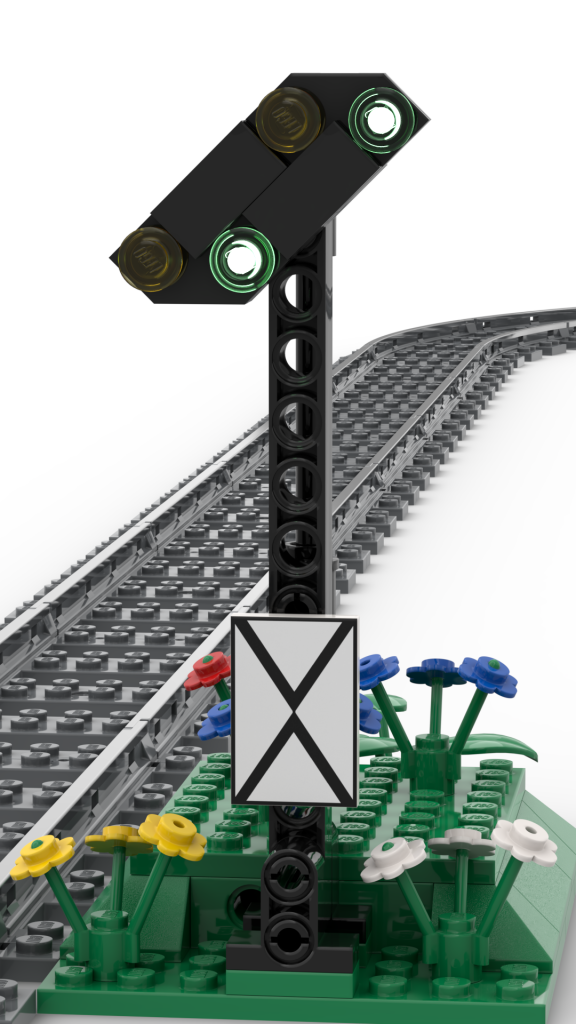
The signal usually has two yellow and two green lights.
Two yellow lights indicate “expect stop on next main signal” (Vr0).
Two green lights indicate “expect go on next main signal” (Vr1).
Third aspect
In addition to the The signal can be equipped with a third (yellow) aspect.
This aspect indicates “expect slow on next main signal” (Vr2). Slow usually means 40 km/h in reality.
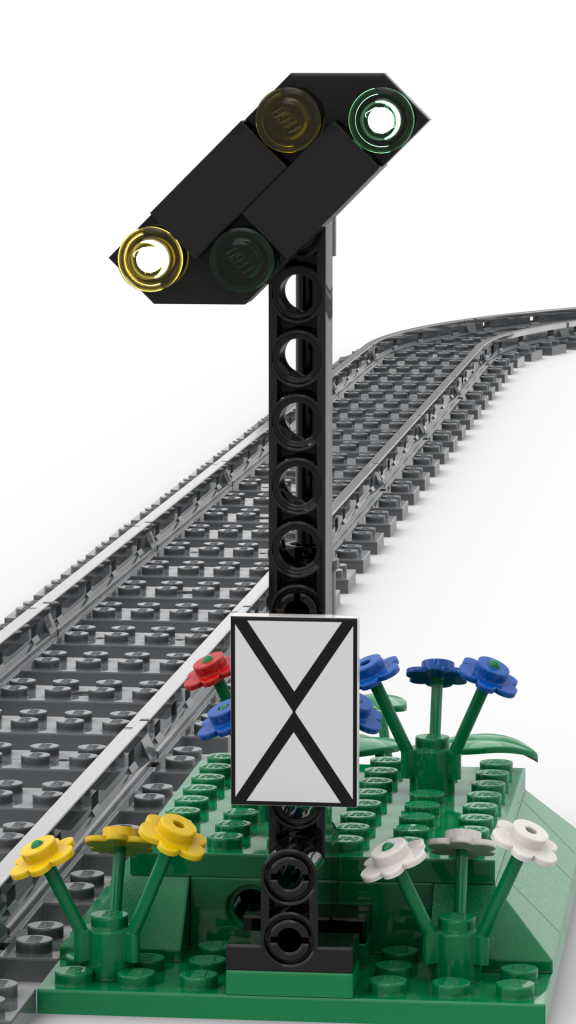
No additional lights are required for this aspect, as the aspect uses one of the yellow and one of the green lights.
Speed indicators
As for the main signal, the signal may be equipped with speed indicators.
Short distance to the main signal
If the distant signal is positioned unusually close ahead of the next main signal, an additional white light is added to the signal. In reality, the usual distance is 1000m in main tracks and between 400 or 700m on some side tracks.
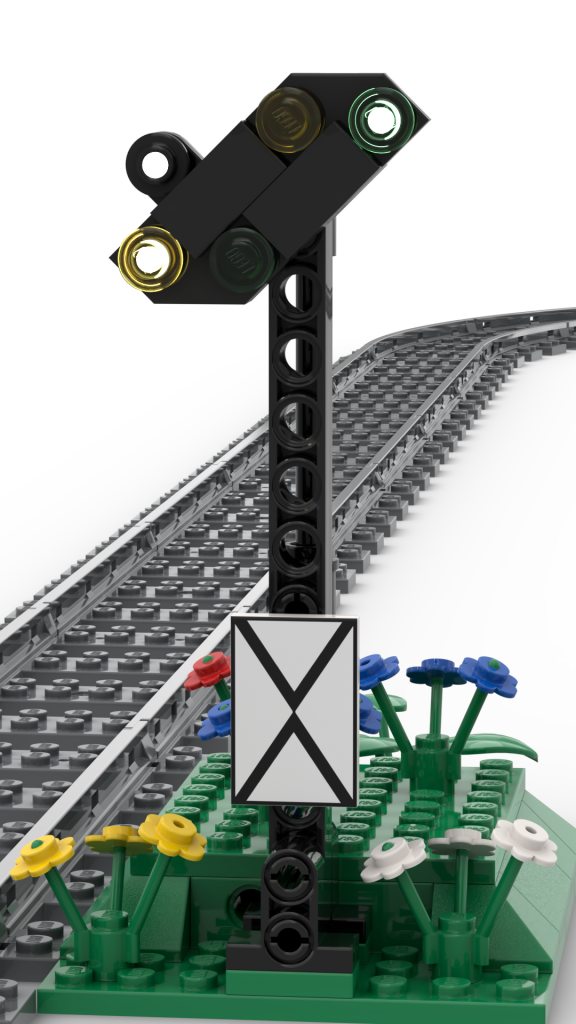
The same white light is used if additional distant signals are located between the first distant signal and the main signal. These signals are called “distant signal repeater”, or “Vorsignalwiederholer” in German. The only difference is, that distant signal repeaters do not show the white panel with the crossed black stripes, which is called “Vorsignaltafel” in German.
Building Instructions

Required parts
The signal can be built with standard LEGO parts. The building instructions contain a part list.
To fix the signal board to the mast, a special part called “single stud” (Einzelnoppe) is recommended, which can be obtained e.g. by Bluebrixx. This gives the signal board better stability. Alternatively, you may use a LEGO technic pin 3/4 (part no 32002).
To illuminate the signal, you need the following parts:
- Two yellow and two green LEDs. Add a white one of you’d like the optional short-distance indicator. The precise LED type and sourcing information is indicated on the bill of materials.
- A black rubber hose to guide the wires along the signal mast (diameter about 5mm, length 5cm).
To make the illumination work, it is required to drill two holes (diameter 2mm) into two of the “wedge plates 2×2 cut corner” parts. If you have a problem with this, use 3rd party parts from China instead.
To prevent the LEDs from burning off and to save electrical power, you may want to add some resistors to limit the current through the LED. At a voltage of 3,3V, 120 Ohm should usually be a good value. If in question, read the data sheet of your LEDs.
For the sticker for the white tile 2×3 (Vorsignaltafel), please refer to the distant semaphore signal page for instructions.
Automation
The signal is automated with a MattzoLayoutController (MLC). The MLC controls the LEDs.
Find more details about the MLC here.
To use the MLC with signals is described here.
In the firmware, there is an example configuration file called “MLC_conf_Complex_Light_Signals.h”. This is a good starting point for you. Modify the file depending on the features that the variant of your signal has, and the aspects that it should be able to show.
Enjoy!
Credits
Julius Brönner contributed some initial ideas to the design of the signal. Thank you for your contribution, Julius.
