On this page, you find information about:
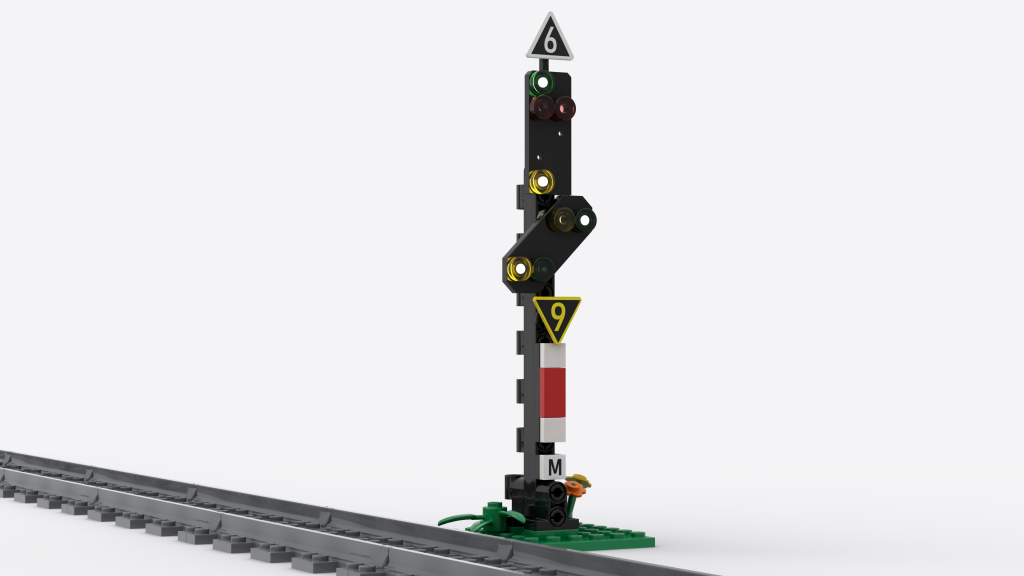
- how to build a German H/V light main signal with LEGO bricks,
- equipping the it with lights,
- automating the signal with a MattzoLayoutController.
Media
I have created a video about light main signals:
Deutsche Version:
About the signal
The signal was originally designed by Matthias Runte of MattzoBricks in 2021 and refined in 2022, 2023 and 2024. Julius Brönner contributed some valueable ideas and details in 2023.
Shape and functionality is based on the German H/V light main signal (Lichthauptsignal im H/V-System) that was common on German railroads since about mid of the 20th century.

Even though this type of light signal is being replaced by combination light signals that integrate distant signals into the main signal, the signal is still used on many railway tracks throughout Germany.
Options
The signal can be equipped with various options.
Basic function
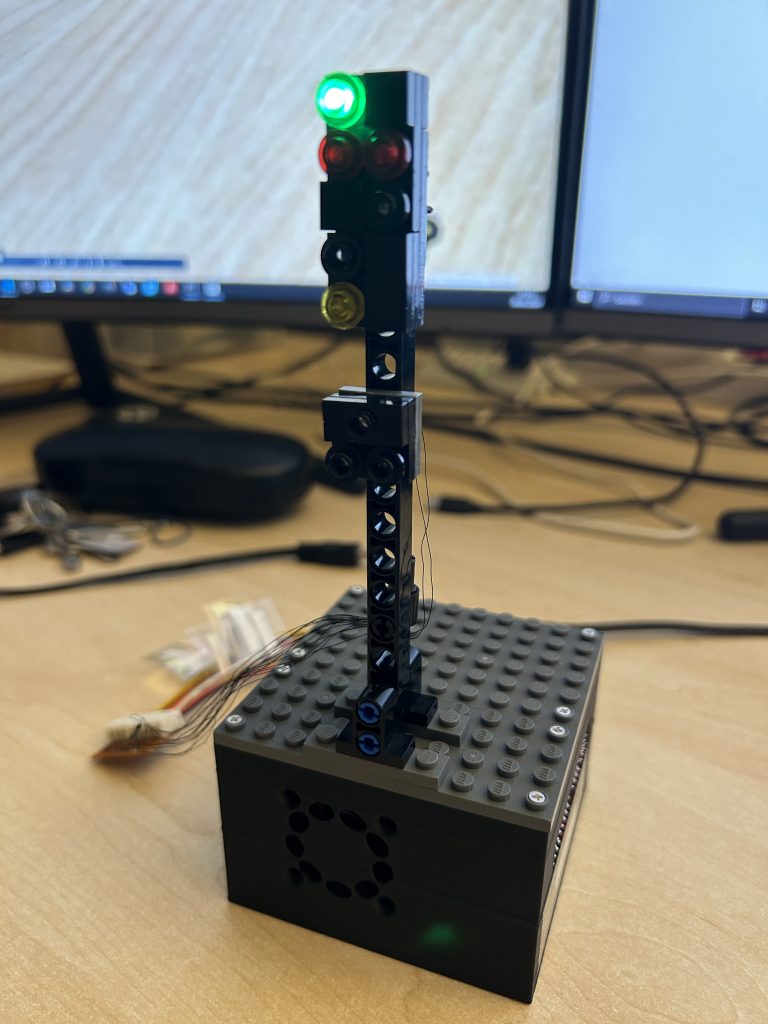
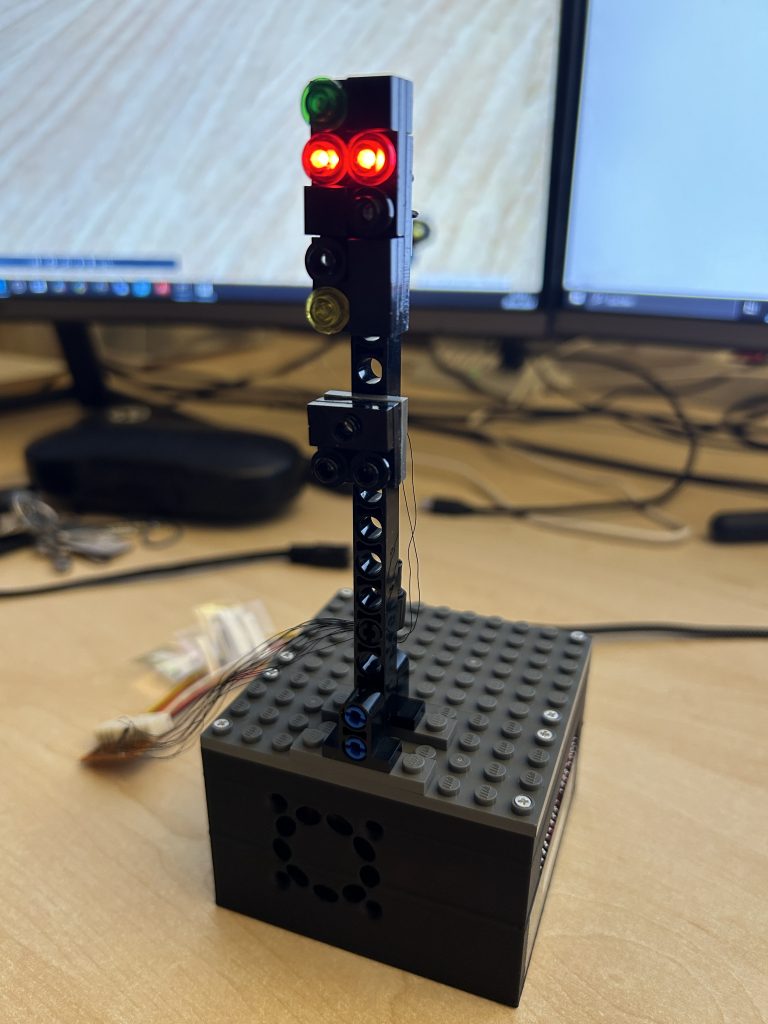
The signal always has a green and two red lights.
Third aspect
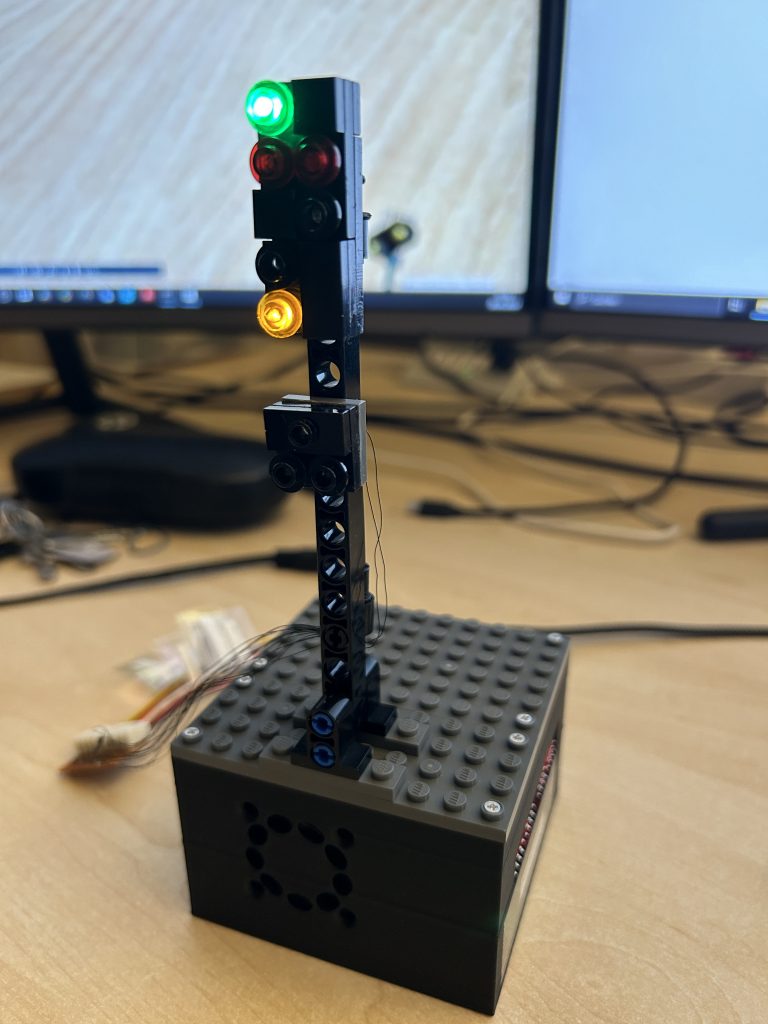
The signal can be equipped with a third (yellow) aspect. This indicates that the train may pass with “slow speed” (40 km/h, if not otherwise commanded).
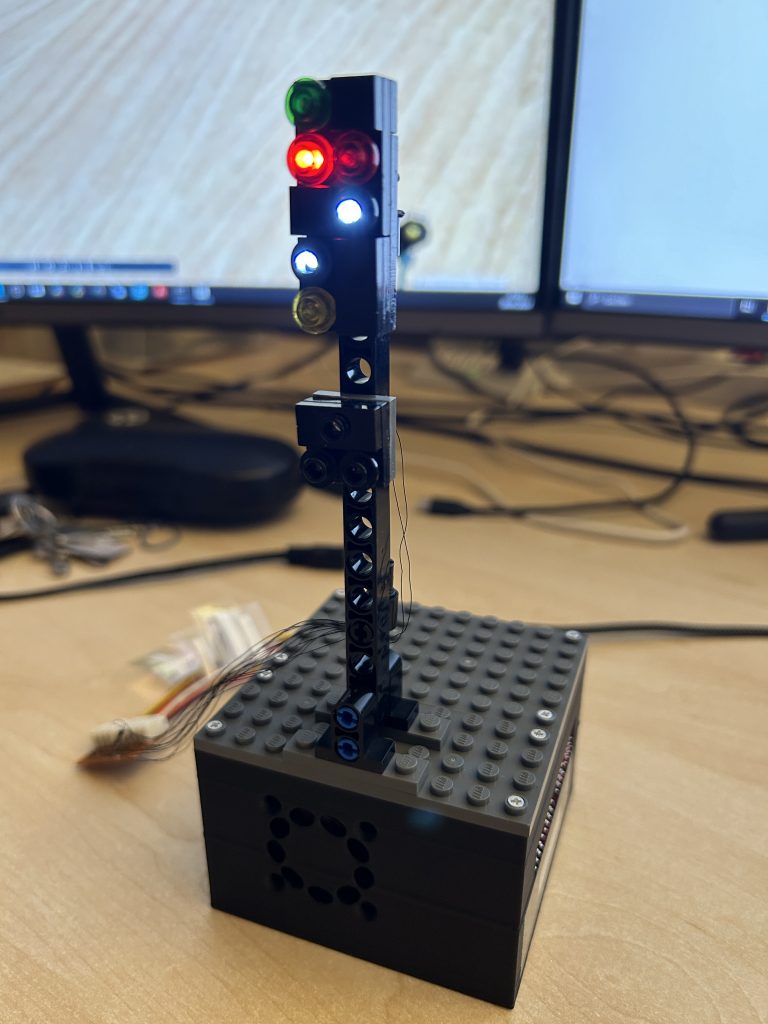
Shunting clearance
Two white digital lights indicate the “shunting clearance”. This means that the train main enter the shunting area, but has no clearance to operate on the following main track.
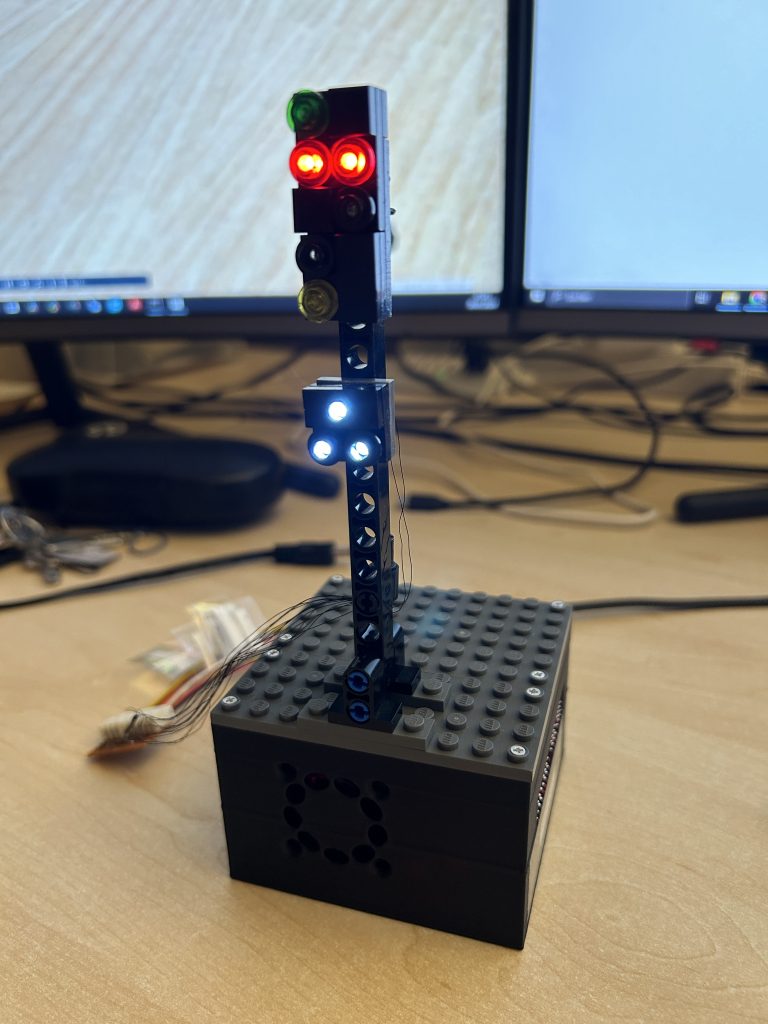
Signal out of order
The signal does not operate normally. Nevertheless, the train may pass a red signal under certain circumstances at a slow speed without written command.
Speed indicators
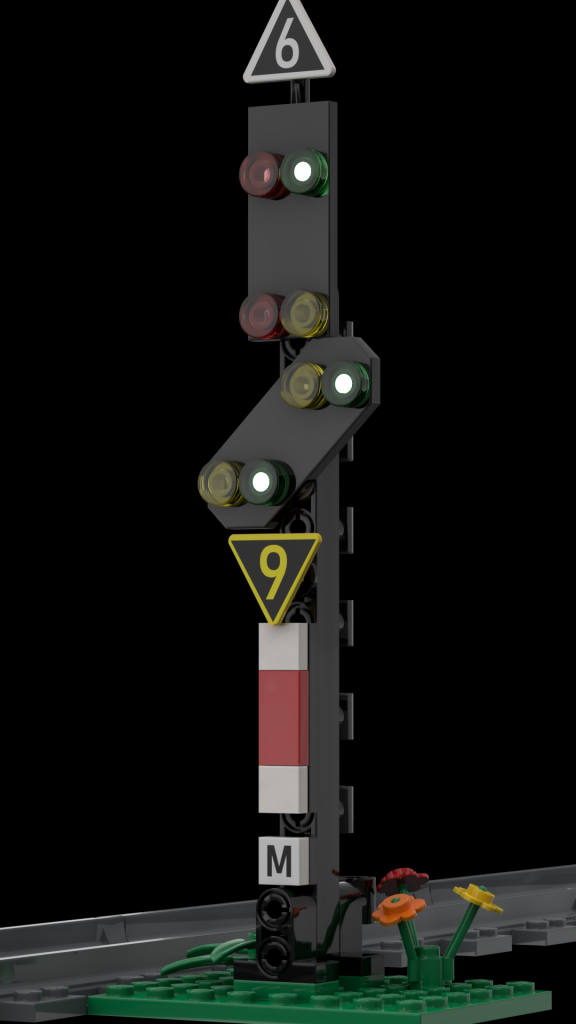
Speed indicators can be used to indicate the maximum speed from the signal on (white), or indicate that a speed limitation is ahead (yellow).

Colocated distant signal
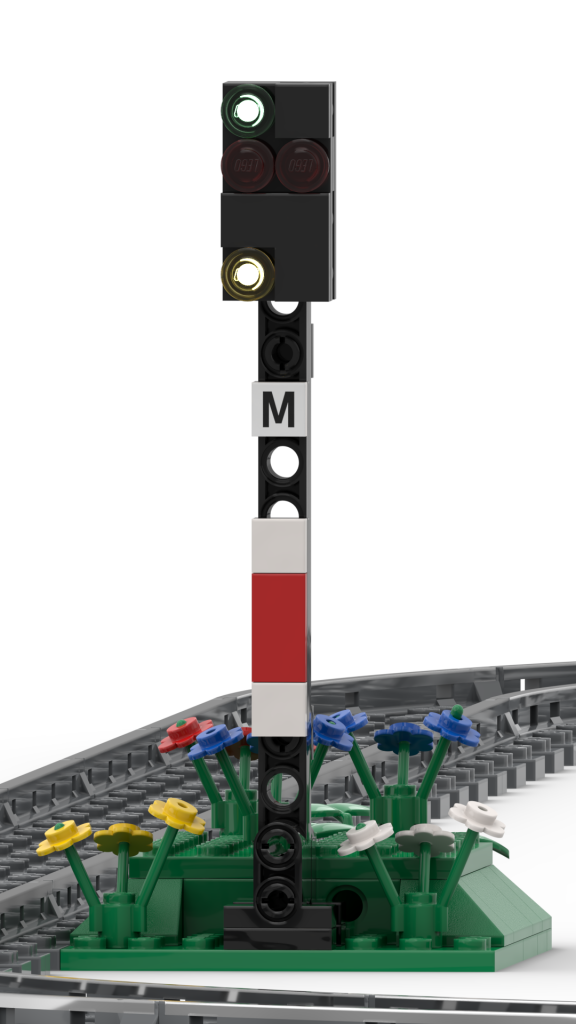
At the position of the main signal, a distant signal for the next main signal can be colocated.
Please note that in the German H/V system, distant signals are required to show a blank signal aspect (all lights off) when a colocated main signal shows the stop aspect (red). In the Mattzobricks Train Automation System 2.0, this behaviour can be set in Rocrail in the signal settings of the main signal.
See light distant signal for more details.
Building Instructions
We have compiled building instructions for a standard German light main signal.
Press the following button to download the building instructions.

Required Parts
The signal can be built with standard LEGO parts. No printed parts are required.
To illuminate the signal, these extra parts are required:
- One green, and yellow and two red LEDs. The precise LED type and sourcing information is indicated on the bill of materials.
- A black rubber hose to guide the wires along the signal mast (diameter about 5mm, length 5cm).
To make the illumination work, it is required to drill 4 holes (diameter 2mm) into one of the “plate 2×4” parts. If you have a problem with this, use 3rd party parts from China instead.
To prevent the LEDs from burning off and to save electrical power, you may want to add some resistors to limit the current through the LED. At a voltage of 3,3V, 120 Ohm should usually be a good value. If in question, read the data sheet of your LEDs.
Automation
The signal is automated with a MattzoLayoutController (MLC). The MLC receives commands from Rocrail and lights up the correct LEDs for the current signal aspect.
Find more details about the MLC here.
To use the MLC with signals is described here.
In the firmware, there is an example configuration file called “MLC_conf_Complex_Light_Signals.h”. This is a configuration files designed for the MLC mega. This is a good starting point for you. Modify the file depending on the features that the variant of your signal has, and the aspects that it should be able to show.
Enjoy!
Credits
Julius Brönner contributed some details to the design of the signal. Thank you for your contribution, Julius.

Ich weiß die Videos dazu sind schon ziemlich alt, aber ist es möglich noch die Anleitung für die Lichtsignale zu bekommen? Die sehen halt schon sehr klasse aus. Ich würde für meinen Sohn dann ein paar von beiden bauen.
Ich habe noch das Licht-Vorsignal auf der To Do Liste. Das baue ich erst noch. Vielleicht mache ich danach noch eine Anleitung, kann ich aber nicht versprechen.