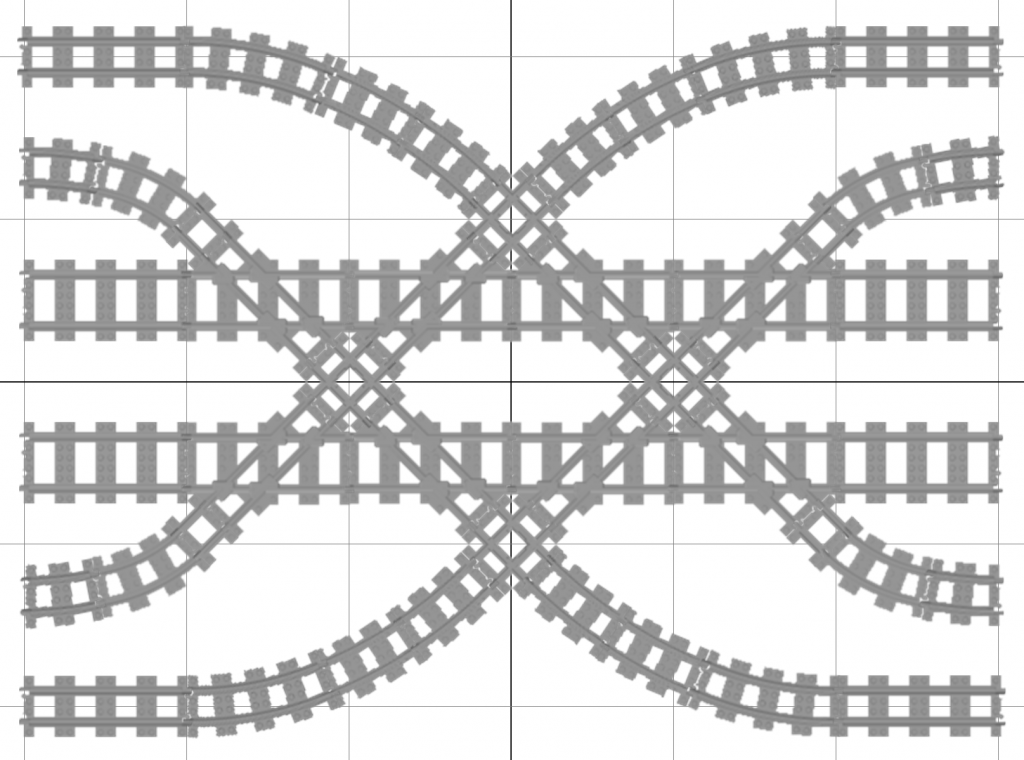
The layouts on this page use standard gauge and narrow gauge tracks from TrixBrix.
All track layouts were created with Bluebrick and the TrixBrix track library for Bluebrick.
About Dual Gauge Layouts
The standard gauge system was set by LEGO ages ago. It is defined by a sleeper width of 8 studs, and a track spacing gauge of 6 studs.
The narrow gauge system was also introduced by LEGO and popped up in some set around 2009. It is defined by a sleeper width of 6 studs, and a track spacing gauge of only 4 studs.
Trixbrix has enriched both gauge systems by a world of additional tracks later.
The two gauge systems were incompatible, until Trixbrix introduced some really stunning “dual gauge” items.
This new compatability includes:
- Dual gauge tracks
- Orientation:
- Centered dual gauge tracks: Two additional narrow gauge rails, oriented in middle of standard gauge rails.
- Side dual gauge tracks: Narrow gauge track shares one rail of the standard gauge track, one additional narrow gauge rail.
- Available Tracks:
- Straight dual gauge tracks (16 studs)
- R40 dual gauge curves
- “Slide” tracks that allow changing from centered to side dual gauge tracks.
- Orientation:
- Dual guage turnout switches
- Allow to split a dual gauge track to standard gauge and narrow gauge.
- Crossings between standard and narrow gauge tracks:
- Crossing angle 90°
- Crossing angle 45°
Dual gauge track geometry
The basic idea is to include one or two additional rails inside the standard gauge track to establish a second narrow gauge track.
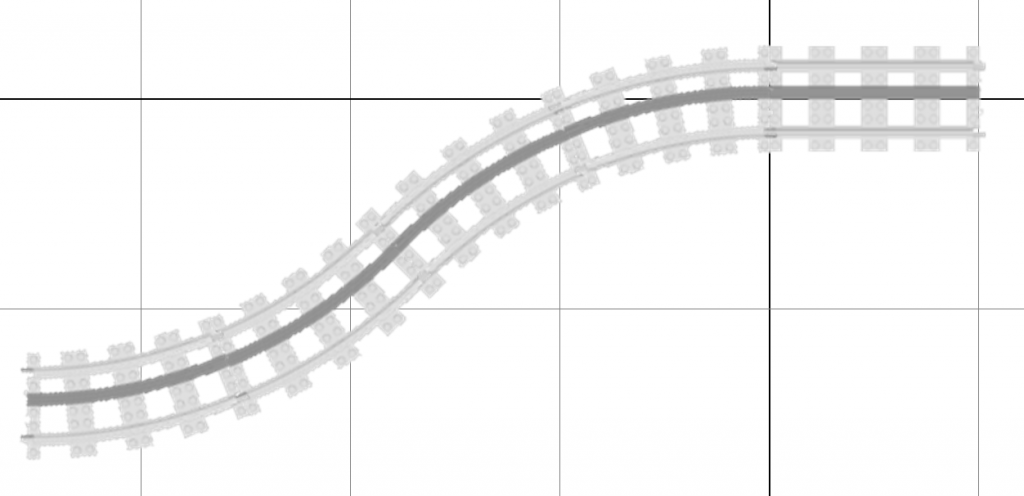
The orientation of the narrow gauge track can be slided with a slider from the side to the center, or further to the other side.

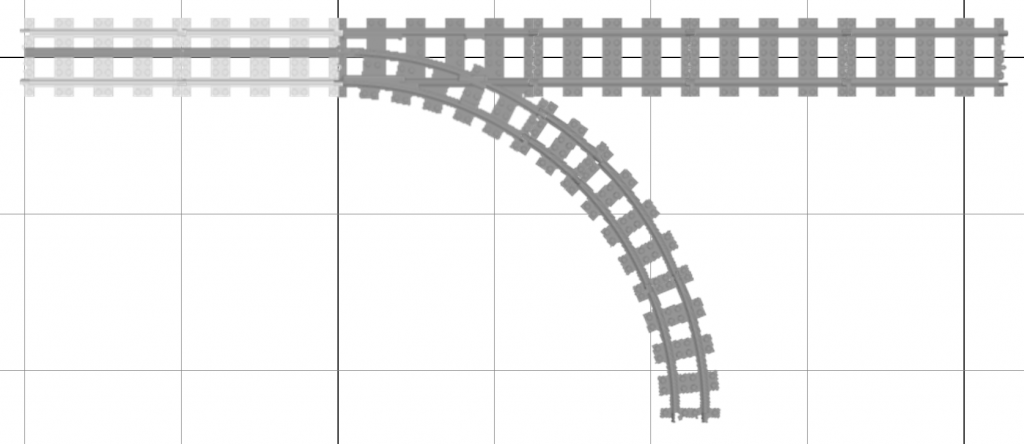
The narrow gauge track can be separated from the dual gauge track with a dual gauge turnout. Please note that this is not a switch, because the path of the tracks are fixed. The narrow gauge is always turning out while the standard gauge track goes straight. Turnouts have a radius of R36.
When a narrow gauge track arrives on one side of the standard gauge track, and needs to turnout on the other side, you need two sliders. The first one shifts the narrow gauge track to the center, and the second one from the center to the other side.
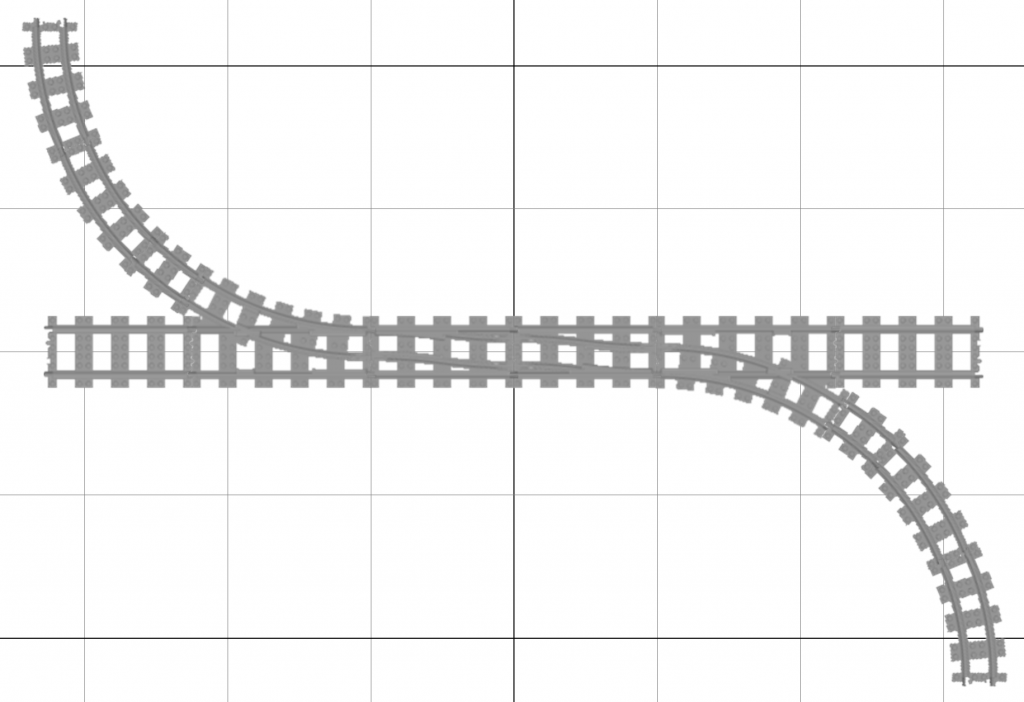
Switches can not be inserted into dual gauge tracks. If the standard gauge track of a dual gauge track needs to branch, the narrow gauge track needs to be separated around the switch using turnouts.

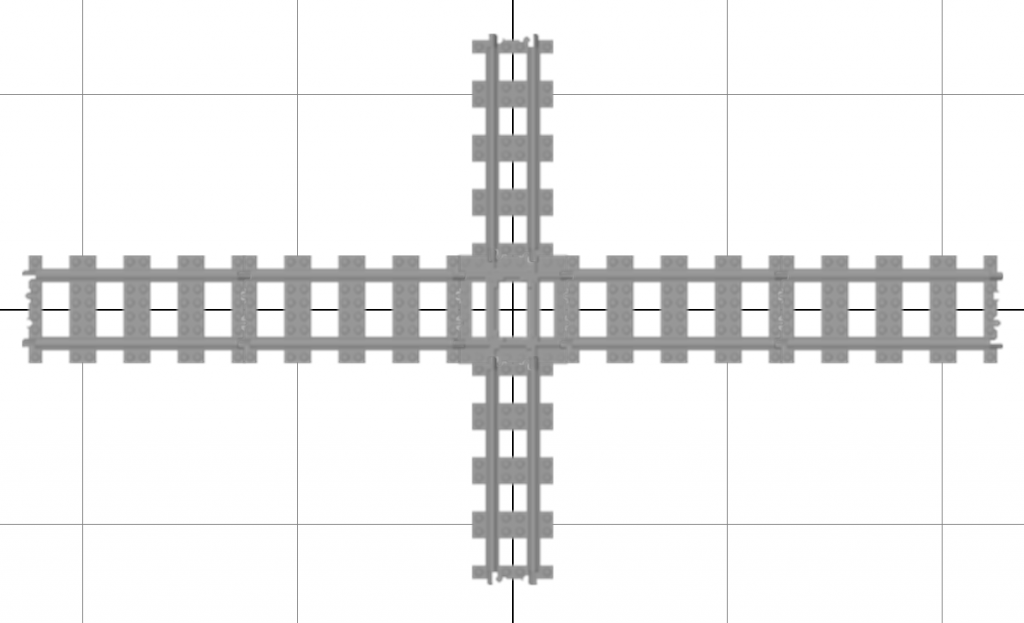
90° crossings of standard gauge and narrow gauge tracks is possible using a dual gauge crossing.
The same applies for 45° crossings. The 45° dual gauge crossing from Trixbrix comes with the required adapters to align the narrow gauge track parallel to the standard gauge track with the standard distance of 6 studs between the sleepers. This is also the distance when turning out a narrow gauge track.

The 45° dual gauge crossing also works over two (or more) parallel standard gauge tracks.
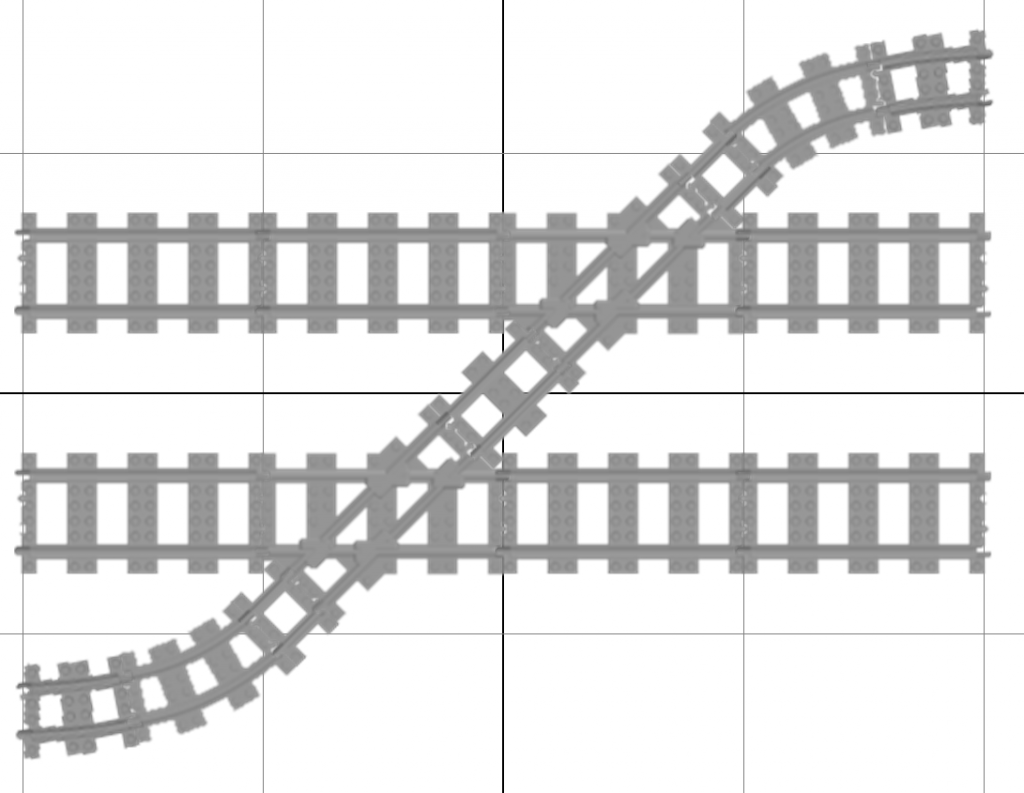
You can even build a Rhombus crossing with two standard gauge and narrow gauge tracks each. Please note that the spacing between the narrow gauge tracks at the ends of this setup is only 5 studs (instead of 6).
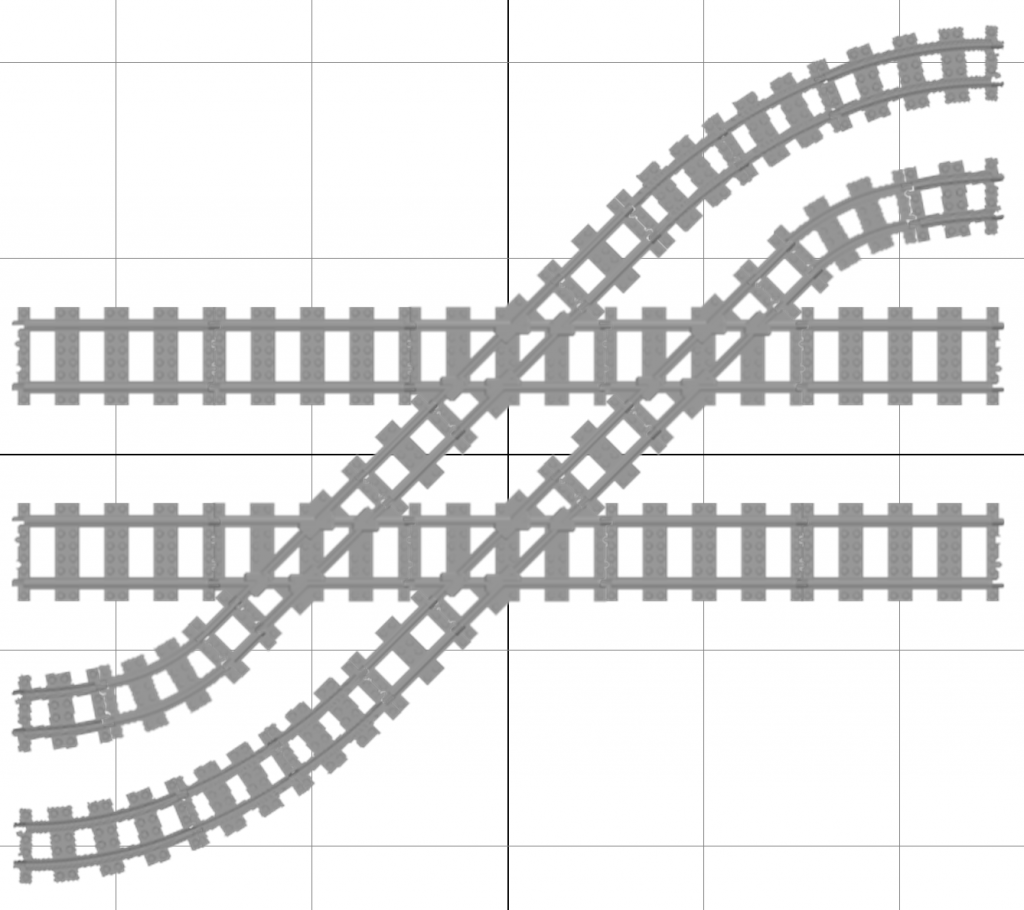
You can also build a dual gauge 45° star crossing.
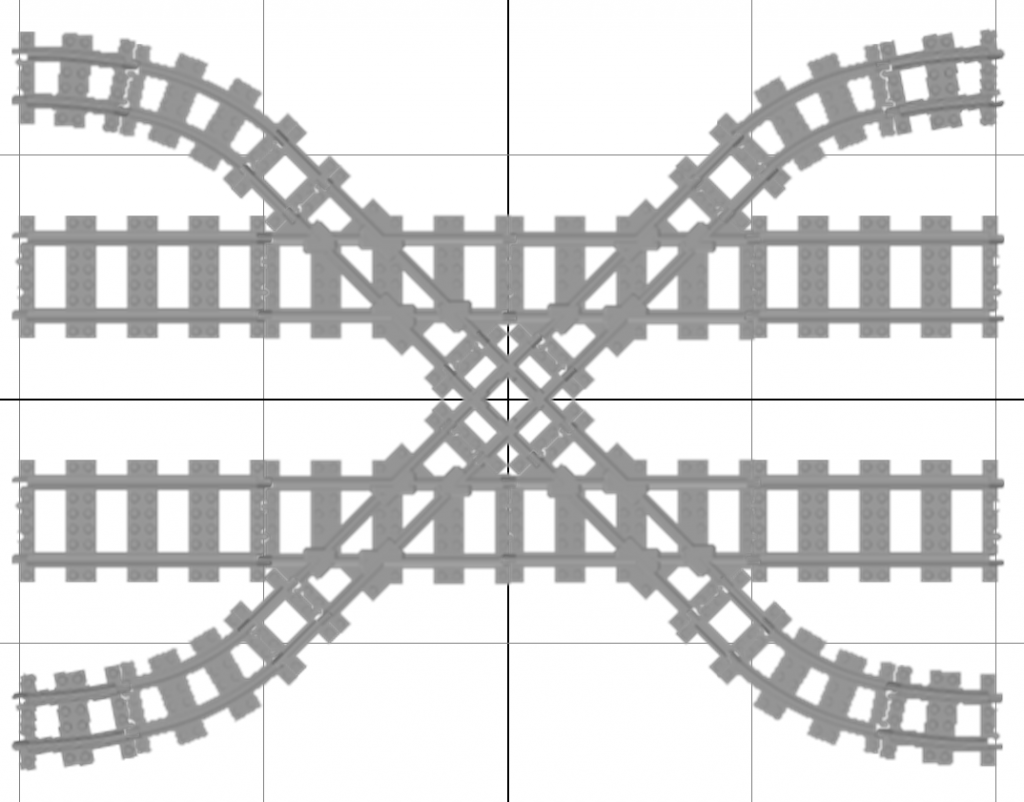
If the crossing narrow gauge track needs to divert another 45° after the crossing, this is also possible within the standard stud raster. Just turn the curve adapters behind the crossing around!
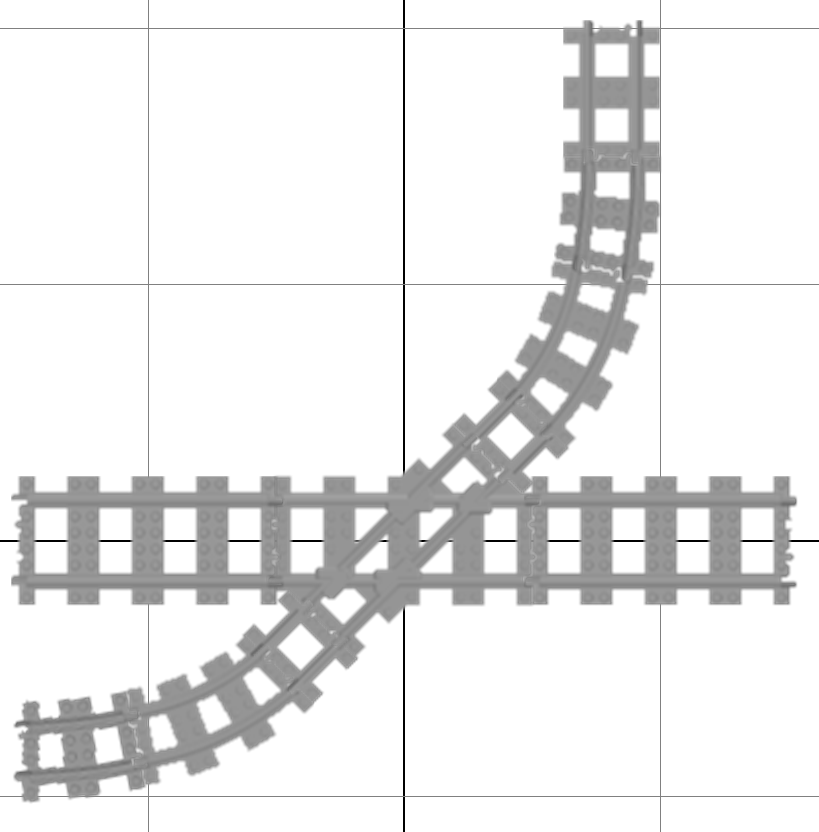
A potential problem of the adapter curve behind the 45° dual gauge crossing is that it is quite narrow (about R17). This can be a problem for narrow gauge trains. An option is to use two narrow gauge R24 curves with a narrow gauge 1/8 straight track in the middle.
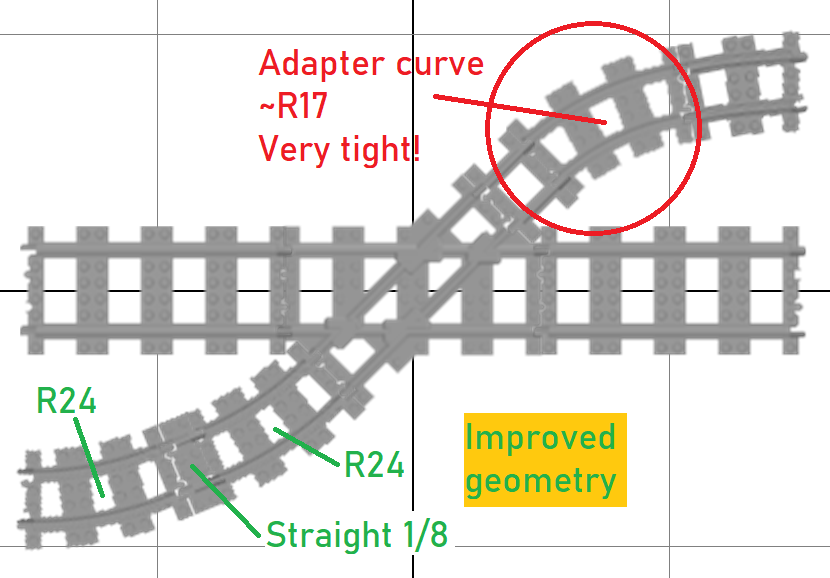
The improvement also works when diverting the narrow gauge track away from the standard gauge track.
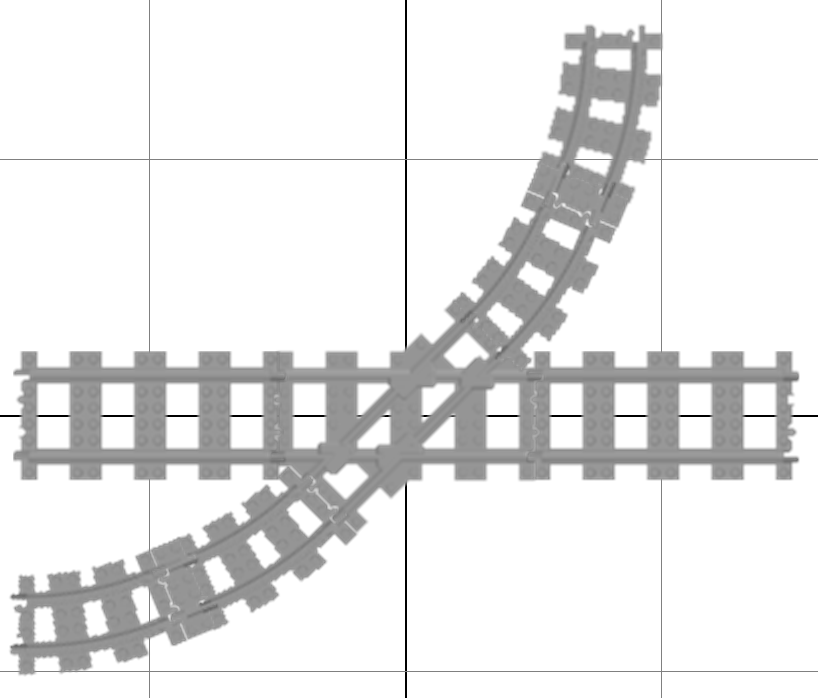
You can also combine two 45° dual gauge crossings with a 90° standard gauge crossing.
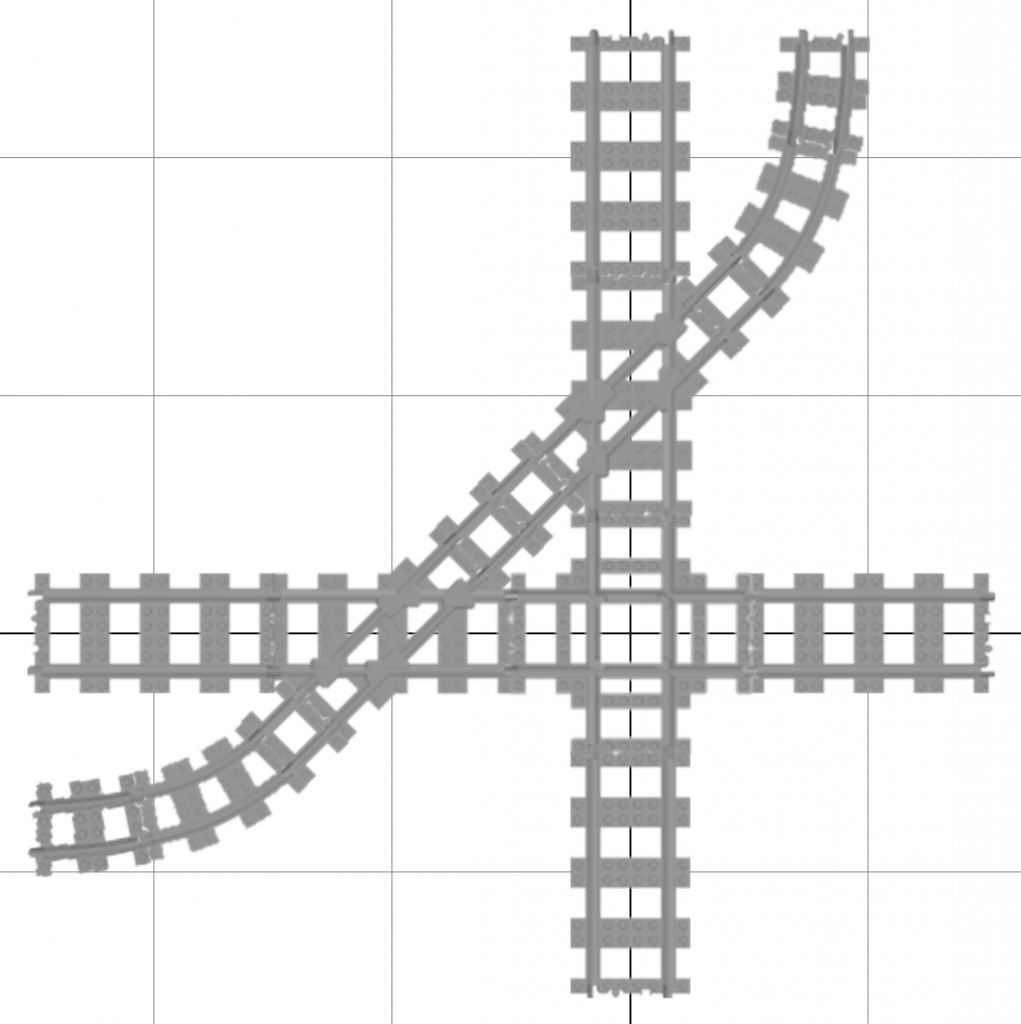
If you have problems with your mental health, you may consider the following insane double star crossing.
